Introducing the easy-to-follow guide on how to connect two faucet supply lines!
Fixing your plumbing can seem daunting. This article breaks down each step so even beginners can tackle it.
Boost your DIY skills and tackle a common plumbing task with ease! Say goodbye to confusing instructions and hello to an accessible solution.

Join us as we explore the world of faucet supply lines. Enjoy the sense of accomplishment that comes with completing this project!
How to Connect Two Faucet Supply Lines?
It’s all about patience when connecting two faucet supply lines. Get your tools ready, take things slow, and you can do this task. Save money on a plumber, enhance your DIY skills, and feel the victory of a job well done.
Essentials Tools and Equipment
You need the right tools for the job. You should have two supply lines, two wrenches, plumber’s tape, a bucket, and a cloth. This is not a time-consuming task and with the right gear, you can do it in less than an hour.
The Basics
Faucet supply lines connect the faucet to the water source. It’s important to connect them properly. Minor errors can lead to leaks or even floods. So approach this task cautiously and make sure you get it right.
A Step-by-Step Guide on Connecting Two Faucet Supply Lines

Step 1: Shut Off Water: Turn off the water source. This is the first thing you should do to avoid water messes. Your home probably has a main shut-off valve. It’s often found in the basement or outside the house.
Step 2: Clear the Area: Next, clear the area under the sink. Remove all items. You will have enough space to do the job without distractions.
Step 3: Prep Your Equipment: Prepare your toolbox for the task ahead. This involves:
- Two Wrenches: You’ll need two adjustable wrenches. One is for holding the line or the faucet steady, and the other is for turning and tightening the connections.
- Plumber’s Tape: This is critical in preventing leaks from the connections. It forms a water-tight seal once wrapped around the thread of the supply lines.
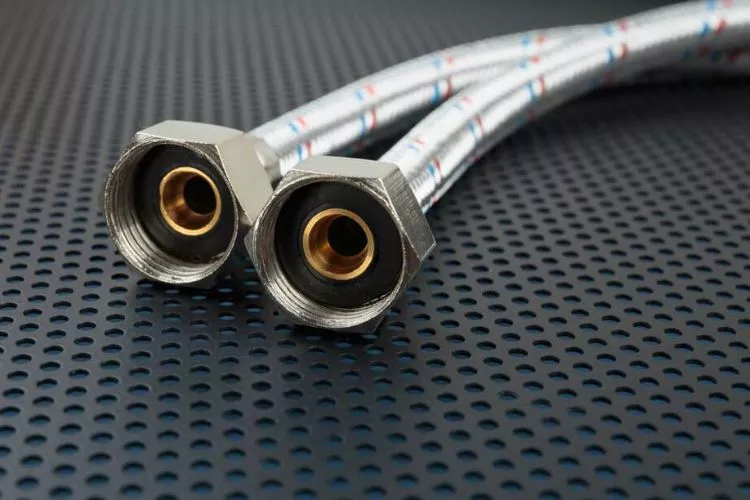
- The Supply Lines: Place both supply lines side-by-side on a clean, smooth surface. Note that one end is smaller than the other. The small end connects to the shut-off valve, while the large end attaches to the faucet.
Before you start, take a few moments to familiarize yourself with all your tools and equipment. Understand the role that each plays. This way, you eliminate confusion, making the installation process smoother and quicker.
Step 4: Install the Faucet: Depending on your faucet type, you might need to install it first before attaching the supply lines. This step varies based on the faucet model and its manufacturer’s instructions. Here’s a general approach:
- Check the Manual: Look through the faucet manual. It contains every critical step in installing your faucet. It’s advisable to read through the manual to understand what you’ll need to do.
- Ready the Faucet: Get your faucet and ensure it’s clean and free from any potential damaging particles.
- Position the Faucet: Place the faucet in the intended position. The position might vary depending on the type of faucet and sink design.
- Secure the Faucet: Use the nuts, bolts, and washers provided by the manufacturer to secure the faucet. Follow the instructions to avoid a shaky faucet.
Ensure your faucet sits tight and right before you move to connect the supply lines. If wrongly installed, the faucet might wobble or leak, leading to more problems. So take your time and get this part right.
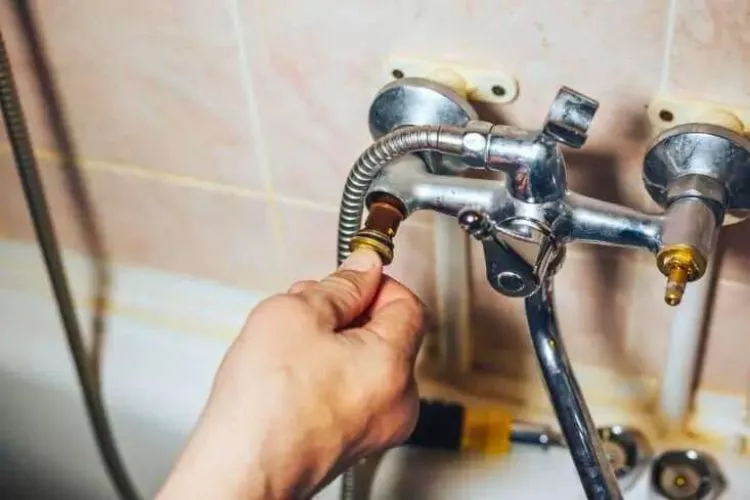
Step 5: Attach the Supply Lines: Now, pick up the first supply line. You’ll see two ends – one smaller and one larger. The larger end connects to the faucet, the smaller to the shut-off valve. First, wrap the threads of the larger end with plumber’s tape. Connect it to the faucet using one wrench. Repeat the process with the second line.
Step 6: Tighten the Connections: Make sure to tighten the connections. But be cautious. Do not overtighten. It can damage the lines and cause a leak.
Step 7: Connect to the Shut-Off Valve: Next, connect each supply line to the shut-off valve under your sink. Again, wrap the threads with plumber’s tape and use a wrench to tighten.
Step 8: Final Check: Make sure that your supply lines are secure. Check for any visible issues. If the lines seem fine, you can proceed to the next step.
Step 9: Turn On the Water: Now, slowly turn on the main water supply. Watch for any leaks. If you note some, turn off the water and check your connections.
Step 10: Cleanup: If there are no leaks, your job is done. Clean the area, put back anything you moved, and give yourself a pat on the back.
Faucet supply line Connector types
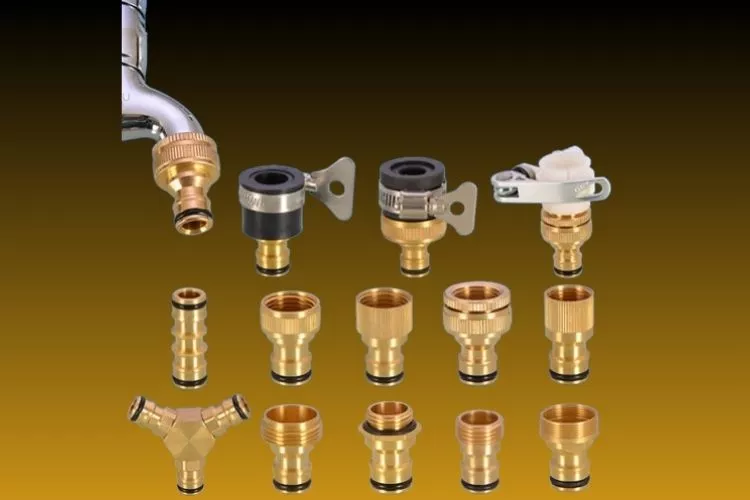
When tackling a faucet installation or a plumbing project, understanding supply line connector types is key. Let’s explore the different types of supply line connectors you might encounter.

Compression Connectors
Compression connectors are popular and widely used. They come in two parts: the compression nut and the ring.
The compression nut screws onto the valve and as you tighten it, the ring compresses creating a watertight seal. This connection is highly reliable and suitable for high-water pressure.
Flare Connectors
Flare connectors work similarly to compression connectors but instead of a ring, they use a flared end on the supply line.
The flared end seals against the connector creating a watery tight seal. These connectors are excellent for gas and high-heat applications.
Barb Connectors
Barb connectors have little barbs or ridges on them. When you push the supply line onto the barb connector and secure it using a clamp, the barbs prevent the supply line from sliding off. This type of connector works great with plastic or rubber tubing.
Push-Fit Connectors
Push-fit or quick-connectors are recent introductions to the world of plumbing. It’s a one-piece connector. To install, just push the connector onto the supply line until it snaps into place. They offer an easy, tool-free installation and removal process which is perfect for DIY enthusiasts.
Sweat Connectors
Sweat connectors, also known as soldered connectors, create a permanent bond between the supply line and the connector.
These connectors require skill to install as you’ll need to apply heat to the join after applying flux and solder. They are often employed in areas that are inaccessible for maintenance or where a leak could cause damage.
And there you have it! Different faucet supply line connectors for varied applications. Next time you’re installing or replacing a faucet, you’ll no doubt recognize these connectors and make an informed decision on which is best for your unique situation.
Conclusion:
In this guide, we explored the steps to connect two faucet supply lines, from preparation to final checks. We also delved into the different types of supply line connectors typically used in household plumbing systems.
With patience, the correct tools, and a careful approach, connecting supply lines becomes an achievable task, even for those new to DIY plumbing.
Remember, the most important part is to ensure a secure and leak-free connection. If you follow these steps and understand the task at hand, you’ll be a faucet connection pro in no time.


