Vinyl flooring is a popular choice for many homeowners due to its durability and ease of installation.
However, one common issue that homeowners may face is their vinyl floor not sticking properly.
This can be frustrating and lead to a host of other problems. In this article, we will explore the possible reasons why your vinyl floor is not sticking and provide practical solutions to help you rectify the issue.
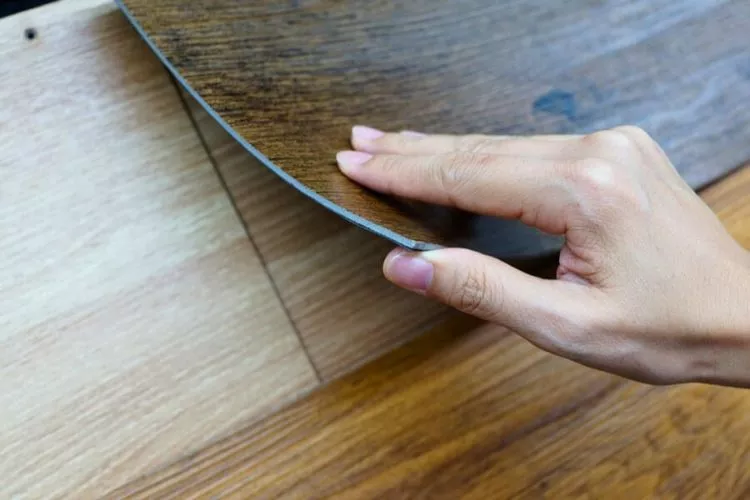
Whether you are a DIY enthusiast or simply want to understand the underlying causes of this problem, our guide will shed light on the possible factors affecting the adhesive properties of your vinyl flooring.
Why Is My Vinyl Floor Not Sticking?
There can be several reasons why your vinyl floor is not sticking properly. Understanding these factors will help you diagnose the issue and find an appropriate solution.
Here are some common reasons why your vinyl floor may not be sticking as expected:
Poor Surface Preparation
One of the main reasons behind vinyl floor adhesion issues is improper surface preparation. Before installing vinyl flooring, it is crucial to ensure that the subfloor is clean, dry, and even. Any dust, debris, or moisture on the subfloor can prevent the adhesive from bonding correctly with the floor.
Solution: Thoroughly clean the subfloor, removing any dirt, dust, or adhesive residue. If the subfloor is not level, use a self-leveling compound to create a smooth and even surface. Make sure the subfloor is completely dry before proceeding with the installation.
Inadequate Adhesive Application
Another factor that can affect the adhesion of vinyl flooring is the improper application of adhesive. Using too little or too much adhesive can result in the floor not adhering properly, leading to lifting or peeling.
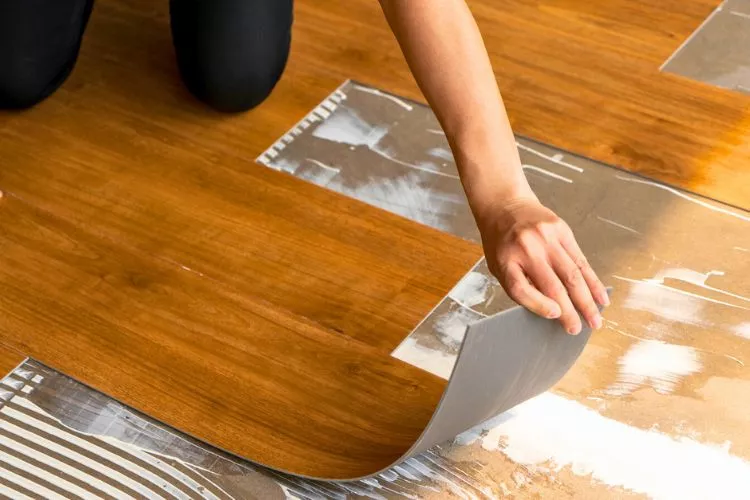
Solution: Follow the manufacturer’s instructions carefully when applying the adhesive. Use the recommended trowel size and technique to ensure an even and sufficient adhesive coverage. Avoid spreading adhesive beyond the recommended open time to prevent premature drying or skinning.
Moisture and Humidity Issues
Excessive moisture or high humidity levels in the installation area can cause adhesive failure. Moisture can prevent proper bonding between the adhesive and the subfloor, leading to poor adhesion.
Solution: Test the moisture levels in the subfloor using a moisture meter. If the moisture content is too high, you may need to address the underlying moisture issue before proceeding with the vinyl floor installation.
Installing a moisture barrier or using a moisture-resistant adhesive can also help prevent future moisture-related problems.
Subfloor Contamination
Subfloor contamination can occur when there are traces of existing adhesives, oils, or chemicals on the subfloor surface. These contaminants can prevent the new adhesive from properly bonding with the floor.
Solution: Thoroughly clean and remove any residue from the subfloor before applying the adhesive. Use a suitable adhesive remover or solvent to eliminate stubborn contaminants. Allow the subfloor to dry completely before proceeding with the installation.
Low-Quality or Incompatible Adhesive
Using a low-quality adhesive or one that is not compatible with vinyl flooring can lead to poor adhesion. It is essential to choose an adhesive specifically designed for vinyl flooring installation.
Solution: Ensure you are using an adhesive that is recommended by the vinyl flooring manufacturer. Read the labels and specifications carefully to confirm compatibility. Investing in a high-quality adhesive can significantly improve the adhesion and overall performance of your vinyl floor.
Temperature Fluctuations
Extreme temperature changes in the installation area can affect the adhesive properties of the flooring. Vinyl flooring should ideally be installed in a room with a stable temperature and humidity level.
Solution: Maintain a consistent temperature in the installation area both during and after installation. Avoid exposing the floor to extreme temperature fluctuations, such as direct sunlight or heating vents. Providing proper ventilation in the room can also help regulate humidity levels.
By understanding these common reasons why your vinyl floor may not be sticking, you will be better equipped to address the issue.
Remember to follow proper surface preparation techniques, use high-quality adhesives, and ensure ideal environmental conditions for successful vinyl flooring installation.
If the problem persists or seems too complex, it is recommended to consult a professional flooring installer for further assistance.
How do you stop vinyl flooring from lifting?
To solve the issue of your vinyl floor not sticking properly, follow these detailed steps:
Surface Preparation
- Thoroughly clean the subfloor using a broom, vacuum, or mop to remove any dirt, dust, or debris.
- Use a suitable cleaner to remove any adhesive residue from the subfloor. Follow the manufacturer’s instructions for the cleaner.
- Inspect the floor for any cracks, holes, or unevenness. Repair or level the subfloor using a suitable patching compound or self-leveling compound.
- Ensure that the subfloor is completely dry before proceeding with the installation. Use a moisture meter to test the moisture content. If it exceeds the recommended levels, address the moisture issue first.
Adhesive Application
- Read the manufacturer’s instructions for the specific adhesive you are using. Make sure to select an adhesive that is recommended for vinyl flooring installation.
- Using a trowel recommended by the adhesive manufacturer, spread the adhesive evenly on the subfloor. Follow the recommended coverage rate provided by the manufacturer.
- Apply the adhesive in small sections, working your way across the entire installation area. Avoid spreading adhesive beyond the manufacturer’s recommended open time.
- If using a pressure-sensitive adhesive, allow the recommended open time for the adhesive to become tacky before laying the vinyl floor. If using a dry-set adhesive, let it dry to the touch.
Vinyl Floor Installation
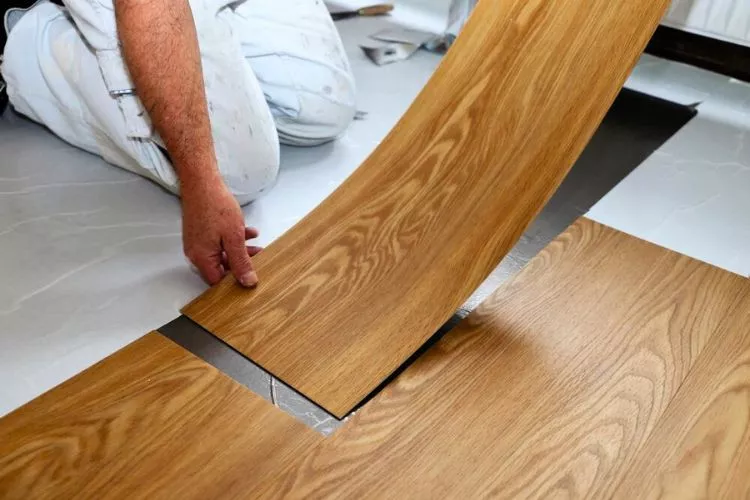
- Start laying the vinyl flooring in one corner of the room, working towards the opposite side. Ensure a snug fit against the walls or baseboards.
- Press the vinyl floor down firmly onto the adhesive, working from the center towards the edges. Use a flooring roller or a smooth, heavy object to ensure proper adhesive contact.
- For larger areas, install the flooring in sections, ensuring each piece is properly aligned and pressed down.
- Use a sharp utility knife to trim excess vinyl along the edges or around obstacles.
- If the floor has seams, follow the manufacturer’s instructions for sealing the seams properly. Use a recommended seam sealer or adhesive.
After Installation Care
- Avoid walking on the newly installed floor for at least 24 hours to allow the adhesive to fully cure.
- Maintain a stable temperature and humidity level in the room to prevent any potential adhesive failure.
- Clean the vinyl flooring regularly using a non-abrasive cleaner recommended by the manufacturer. Avoid using harsh chemicals or abrasive tools that could damage the adhesive bond.
If you have followed these steps and still experience adhesion issues, it is recommended to consult a professional flooring installer. They can assess the situation and provide further guidance or solutions based on the specific circumstances of your vinyl floor installation.
frequently asked question (FAQs)
Sure, I apologize for the confusion earlier. Let me answer your questions now.
Why are my self adhesive vinyl planks not sticking?
There could be several reasons why self-adhesive vinyl planks are not sticking properly to the subfloor. One of the most common reasons is inadequate surface preparation. If the subfloor is dusty, greasy, or uneven, it can prevent the adhesive from sticking properly. Additionally, environmental factors such as high humidity or temperature fluctuations can also affect the adhesive’s ability to bond. Properly preparing the subfloor and ensuring stable environmental conditions can help resolve this issue.
Will Gorilla Glue work on vinyl flooring?
While Gorilla Glue is a strong adhesive, it is not recommended for use on vinyl flooring. Gorilla Glue is a moisture-curing polyurethane glue that can expand, which can cause damage to the vinyl flooring. Moreover, using Gorilla Glue can void the manufacturer’s warranty on the vinyl flooring. For vinyl flooring, it is best to use the recommended adhesive according to the manufacturer’s instructions.
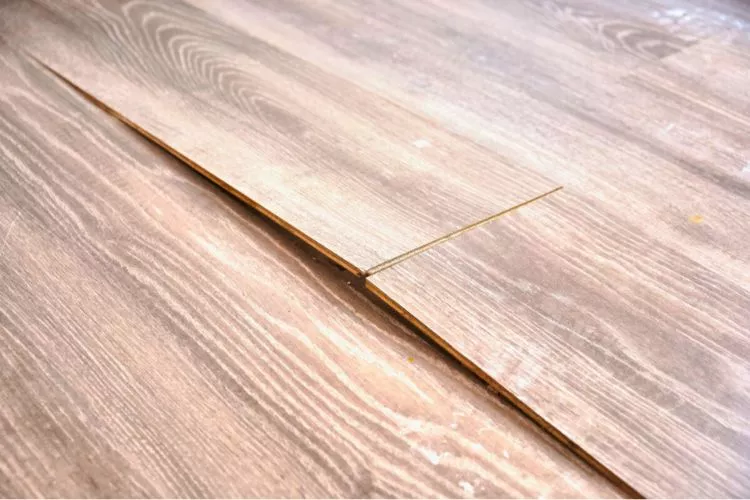
Can you fix vinyl flooring that is lifting?
Yes, it is possible to fix lifted vinyl flooring. First, remove the lifted portion and clean the underlying surface. Then, apply a suitable adhesive or double-sided tape to the subfloor and press the flooring back in place. If possible, roll the flooring with a floor roller to ensure full contact with the adhesive. Allow the adhesive to dry completely before walking on the floor again.
Is glue down vinyl plank flooring good?
Glue-down vinyl plank flooring is a good flooring option if you are looking for a durable, affordable, and low-maintenance flooring solution. It provides a realistic wood or stone look without the cost and upkeep of natural materials. Additionally, glue-down vinyl plank flooring can withstand high foot traffic and is easy to clean and maintain. However, it is important to properly prepare the subfloor and use the manufacturer-recommended adhesive to ensure the best adhesion and longevity of the flooring.
Conclusion:
several factors can contribute to vinyl floor not sticking properly. One of the primary reasons is inadequate surface preparation, including a dirty or uneven subfloor.
Moisture and temperature fluctuations in the environment can also affect the adhesive’s ability to bond effectively. Using the wrong adhesive or improper installation techniques can lead to the same issue.

