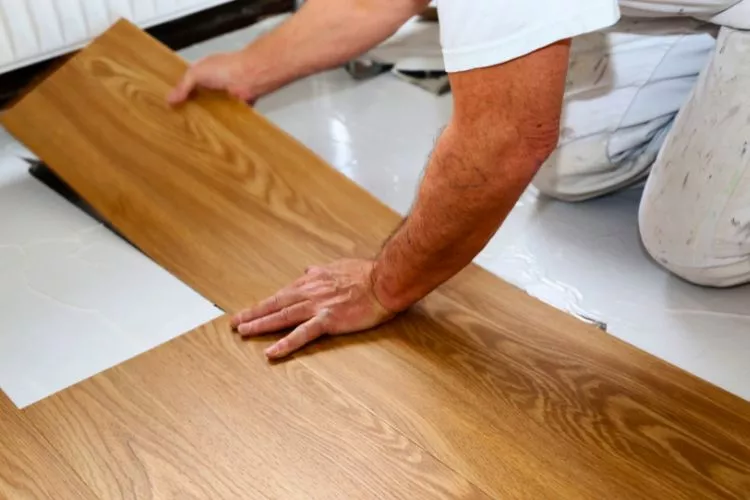
Whether you’re a DIY enthusiast or a professional contractor, encountering vinyl tiles not sticking to plywood can be quite challenging.
This article delves into the world of flooring to explore this issue.
We take a closer look at the reasons behind this sticky problem and provide practical solutions to overcome it.
The article also offers insightful tips that both novices and professionals can implement to ensure their vinyl tiles adhere properly on plywood, thus making their next flooring project an absolutely rewarding venture.
Quick Recommendations
Last update on 2025-05-20 / Affiliate links / Images from Amazon Product Advertising API
vinyl tiles not sticking to plywood: Reasons
There can be several reasons why vinyl tiles may not stick well to plywood, with some of the most common ones including insufficient surface preparation, use of inappropriate adhesive, and an uneven plywood surface.
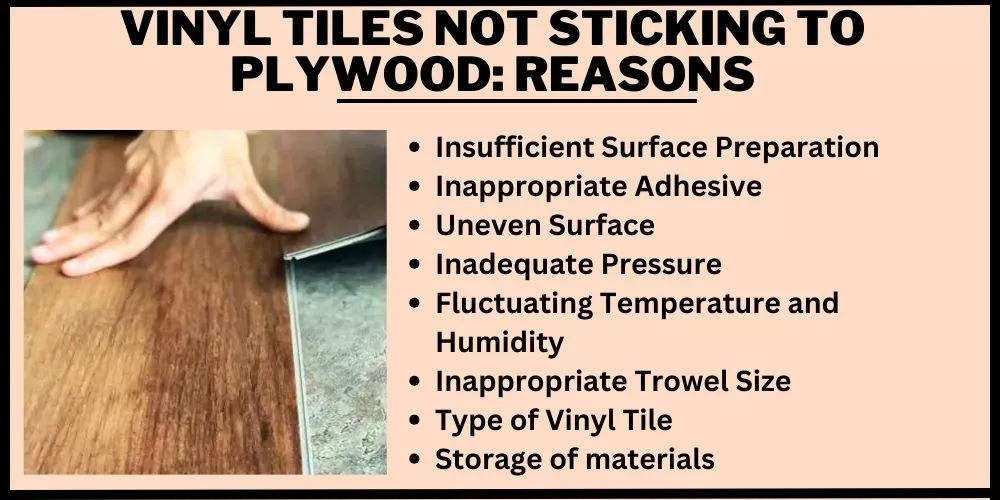
Other factors include inadequate pressure during installation, fluctuating temperature and humidity conditions during installation, an incorrect trowel size for applying adhesive, incompatibility between the type of vinyl tile and plywood, and improper storing conditions of the plywood, tiles, or adhesive.
Understanding these issues and finding solutions can ensure a successful project.
let’s delve deeper into some of the key reasons that could lead to vinyl tiles not sticking to plywood:
1. Insufficient Surface Preparation
Despite its durability and imposing aesthetic appeal, plywood proves to be a difficult surface for vinyl tiles to adhere to unless properly prepared.
An unclean surface, residual dust/particles, and previously applied adhesives can significantly compromise the adhesion of vinyl tiles.
Further, plywood surfaces are porous and can absorb the adhesive laid for vinyl tiles, causing them to adhere poorly.
Employing thorough surface cleaning and utilizing a suitable primer can protect the adhesive from being absorbed and ensure a robust adhesion.
2. Inappropriate Adhesive
Use of incorrect or low-quality adhesive often results in vinyl tiles not sticking properly. Not all adhesives work effectively with all types of surfaces. It is crucial to select an adhesive that’s formulated specifically for vinyl tiles and plywood.
The adhesive’s open time — the time it takes to form a bond — should align with the project’s timeline. Additionally, the glue shouldn’t dry out too quickly or take extraordinarily long; both instances risk compromising the adhesion quality.
3. Uneven Surface
Plywood surfaces, while sturdy, can be uneven due to manufacturing variations or due to wearing and warping over time. An uneven surface causes the adhesive and vinyl tiles to lay uneven, leading to weak adhesion and impending tile displacement.
Achieving an even plywood surface through sanding and leveling prior to the tile installation process can help establish firm tile adhesion.
4. Inadequate Pressure
When laying down vinyl tiles, sufficient pressure is required to ensure firm adhesion. If not enough pressure is applied, air bubbles may form underneath the tiles, disrupting the adhesive’s ability to adhere the tile to the plywood.
Using a roller or similar tool that applies consistent pressure across the tile immediately after placement can aid in successful adhesion.
5. Fluctuating Temperature and Humidity
The ambient temperature and humidity levels at the time of installation significantly affect adhesive performance.
Extreme cold can prevent the adhesive from spreading evenly, while excessive heat can cause it to dry too quickly, both scenarios undermining the bonding strength.
Similarly, excessive moisture can interfere with the adhesive’s drying process. Ensuring a stable, moderate temperature and humidity environment during installation can enhance the adhesion of vinyl tiles to plywood.
Sure, there are a few more reasons that could potentially cause vinyl tiles not adhering well to plywood. Here are a few additional factors:
6. Inappropriate Trowel Size
The trowel size is critical for the correct application of adhesive. If a trowel is too small, it may result in an insufficient amount of adhesive being deposited, while a large trowel can lead to an excess – both scenarios reducing the strength of the bond.
7. Type of Vinyl Tile
There are different types of vinyl tiles, each manufactured differently with distinct levels of flexibility, stickiness, and ease of installation. Some types may not adhere well to plywood, thus emphasizing the importance of finding a suitable match.
8. Storage of materials
The manner in which the plywood, vinyl tiles, or adhesive are stored may affect their performance. For instance, they should ideally be stored in places where they are not subjected to extreme temperature fluctuations or humidity.
Please note that the reasons mentioned are not exhaustive and there can be other site-specific factors at play and it is beneficial to consult with a professional floor installer for any specific issues or concerns.
Vinyl tiles not sticking to plywood: Solution
Here are detailed solutions to address the reasons that hinder vinyl tiles from sticking securely to plywood:
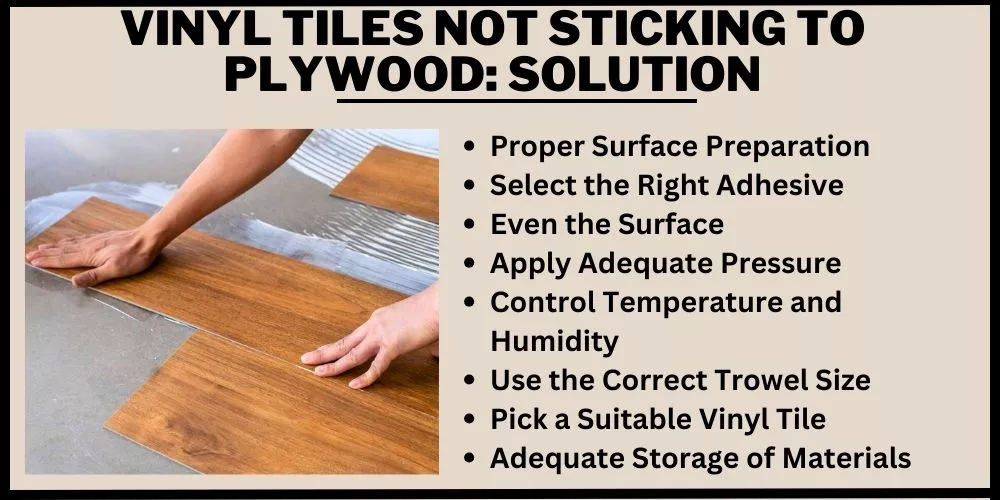
1. Proper Surface Preparation
To ensure sufficient adhesion, it is vital to clean and prepare the plywood surface. Begin by removing any dirt, debris, or old adhesive residues that might interfere with the bonding process. Use a vacuum cleaner, followed by a damp mop, to clean the surface thoroughly.
Next, apply a suitable primer. It not only seals the porous plywood but also enhances the grip of the adhesive, resulting in a strong bond.
2. Select the Right Adhesive
Choosing the appropriate adhesive tailored for vinyl tiles and plywood is crucial. Consult the product label or manufacturer’s guidelines to confirm compatibility, open time, and the recommended trowel size.
Investing in a reputable adhesive brand and one that is designed explicitly for vinyl tiles will significantly improve the adhesion.
3. Even the Surface
Address any uneven surfaces or imperfections in the plywood by sanding or using a leveling compound to create a smooth and even surface.
Sand down any high spots and fill in any dents, gaps, or voids with a patching compound. This ensures a uniform adhesive spread and a strong adhesive bond between the vinyl tiles and plywood.
4. Apply Adequate Pressure
After positioning the vinyl tiles onto the adhesive-covered plywood, use a roller, floor installation tool, or any equivalent tool to apply even and consistent pressure to the entire tile.
Proper pressure helps to distribute the adhesive evenly, eliminates air bubbles, and secures a robust bond.
5. Control Temperature and Humidity
Follow the adhesive manufacturer’s instructions for the ideal installation temperature and humidity. Typically, an ambient temperature of 65-75°F (18-24°C) and a relative humidity of 40-60% are desirable conditions for vinyl tile installation.
By maintaining a stable temperature and humidity level, the adhesive cure time will be unaffected, ensuring proper bonding.
6. Use the Correct Trowel Size
Based on the adhesive manufacturer’s recommendations, select the proper trowel size for adhesive application. It allows a consistent and appropriate adhesive thickness that ultimately results in a strong bond between the vinyl tiles and plywood surface.
7. Pick a Suitable Vinyl Tile
Choose a vinyl tile that is compatible with the chosen adhesive and the plywood surface. Research or consult with professionals to determine the most suitable vinyl tile type for your project requirements.
Opting for a high-quality vinyl tile also increases the chances of achieving a reliable adhesion.
8. Adequate Storage of Materials
Store plywood, vinyl tiles, and adhesive according to manufacturers’ recommendations. Protect them from extreme temperatures or humidity to preserve their quality and performance.
Proper storage conditions improve the effectiveness of the adhesive and the adhesion quality of the flooring.
By addressing these factors and following the suggested solutions, you can ensure a successful and long-lasting adhesion of vinyl tiles to plywood surfaces.
Remember that individual projects and conditions may vary; therefore, it’s always a good idea to consult with professional flooring installers for expert guidance.
Sheet vinyl tiles not sticking to plywood
Sheet vinyl tiles may not stick to plywood for several reasons. One of the main issues may arise from the installation process itself. Proper installation is critical to ensuring that the tiles adhere properly to the plywood.
Preparation of the plywood is also crucial. If the plywood surface isn’t properly prepared, the tiles may not stick effectively. You should clean the plywood and remove any dirt or grease. In addition, it can help to sand the plywood to ensure a smooth surface for the vinyl tiles to stick to.
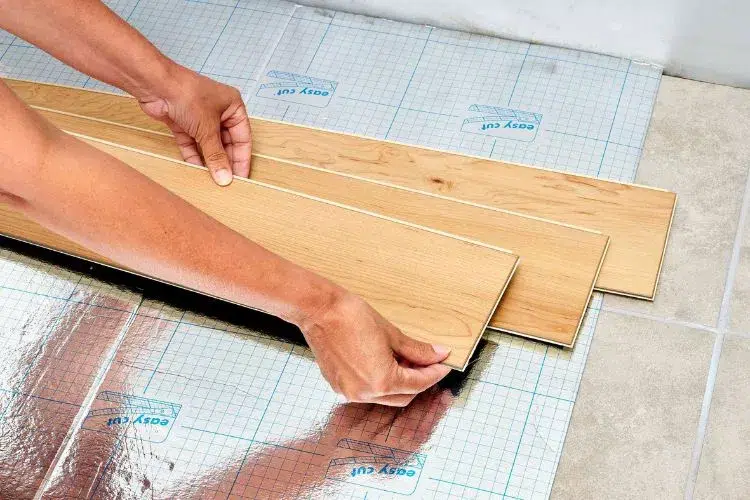
In some cases, the problem may not be with the plywood or the installation, but with the tiles or the environment. If the tiles or the environment aren’t right – let’s say the surface isn’t flat, level, or dry – the tiles can have problems sticking and may even crack or pop up.
Should you face this issue after the installation, there are a few methods to address it. One is to heat the tile to soften up the adhesive, which can make it work again.
To ensure success in getting vinyl tiles to stick to plywood, it’s important to follow the specific instructions provided by the tile adhesive manufacturers.
Keep in mind that proper installation and surface preparation are key factors in ensuring that tile sticks properly to plywood. If issues persist, it may be beneficial to seek the advice of a home improvement professional or the tile manufacturer.
Bathroom vinyl tiles not sticking to plywood
Bathroom vinyl tiles might not stick properly to plywood due to several reasons. One of the main reasons can be attributed to improper surface preparation and incorrect installation.
Ensure that the plywood surface is adequately cleaned and prepared before the vinyl tiles’ installation. An important step involves sanding the plywood to create a smooth and level surface.
The tiles’ failure to stick can also be traced back to issues with the underlayment. It is crucial to ensure the surface is flat, level, and dry before beginning the vinyl tile installation. Any irregularity or moisture can result in the tiles not sticking properly.
In some cases, the problem may arise from the tiles themselves or the environmental conditions at the time of installation. You might want to pay attention to the temperature and humidity of the room, as they can influence how well the adhesive on the back of vinyl tiles works.
If you notice that the vinyl tiles are not sticking properly after the installation, some available solutions can be implemented. One such method is to heat the tile slightly to soften the adhesive, thus making it sticky again.
However, it is critical to always follow the specific instructions given by the adhesive manufacturers with careful attention to any warnings against certain surface preparations.
How do you stick vinyl to plywood?
Installing vinyl tiles on plywood requires careful attention to ensure a successful and enduring bond. Here’s a detailed step-by-step guide to help you stick vinyl to plywood:
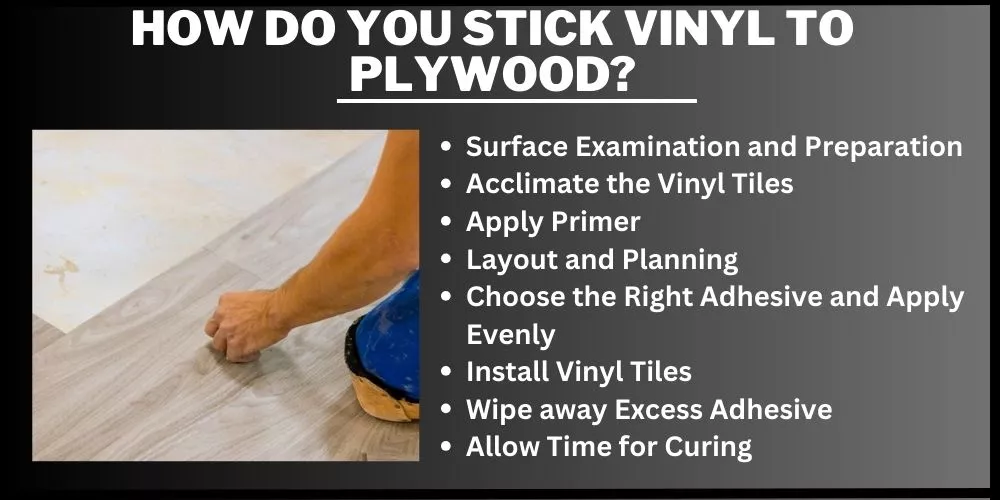
1. Surface Examination and Preparation
Begin by closely examining the plywood surface for any imperfections, such as protruding nail heads, splinters, or unevenness. Sand down any high spots, smooth rough areas, and fill gaps or voids in the plywood surface with a patching compound.
Clean the surface meticulously by using a vacuum cleaner and a damp mop to remove dust and debris. The properly prepared and cleaned surface provides the ideal foundation for a strong adhesive bond.
2. Acclimate the Vinyl Tiles
Temperature plays a significant role in the adhesion of vinyl tiles. Before beginning the installation, allow the vinyl tiles to acclimate to the room’s temperature and humidity.
Store them in the room for at least 48 hours, with the room temperature set at an ideal installation range of 65-75°F (18-24°C) and a relative humidity of 40-60%. This helps avoid any problems from temperature fluctuations during the installation.
3. Apply Primer
Most plywood surfaces are porous, and using a primer is essential to ensure proper bonding. A suitable primer creates a barrier between the plywood and the adhesive, preventing the adhesive from being absorbed into the plywood.
This enables better adhesion and results in a stronger bond. Apply the primer on the plywood surface according to the manufacturer’s instructions, and allow it to dry before proceeding.
4. Layout and Planning
Before attaching the vinyl tiles directly, plan their arrangement by dry-fitting them on the plywood surface. This step allows you to address any issues related to tile alignment or pattern discrepancies.
Snap chalk lines on the plywood to serve as guidelines for the tile placement. Create reference points for the central tile and work outwards to avoid working yourself into a corner.
5. Choose the Right Adhesive and Apply Evenly
Based on the vinyl tile and plywood requirements, select the appropriate adhesive. Follow the manufacturer’s recommendations regarding the choice of adhesive and the trowel size for its application.
Mix the adhesive according to the provided guidelines, ensuring a consistent texture. Use the notched trowel to spread the adhesive evenly on the plywood surface, working on a small area at a time. Make sure the ridges left by the trowel are straight and spread the right adhesive amount.
6. Install Vinyl Tiles
Begin installing the vinyl tiles by placing them carefully on the adhesive-covered plywood, following the pre-established layout. Press each tile firmly onto the adhesive, ensuring that all edges and corners are adhered correctly.
For better adhesion, use a roller or a similar tool to apply even pressure across the tile surface, eliminating any air pockets or excess adhesive.
7. Wipe away Excess Adhesive
During installation, some adhesive may be pushed out from under the vinyl tiles. Use a damp cloth or sponge to remove any visible excess adhesive immediately, as it can be challenging to clean once it cures.
8. Allow Time for Curing
Post-installation, give the adhesive sufficient time to dry and bond strongly. Follow the adhesive manufacturer’s instructions on the recommended drying time. Refrain from walking on the newly installed floor or placing heavy equipment until the adhesive has completely cured.
By following these detailed steps, you can ensure an efficient and well-executed vinyl tile installation on plywood surfaces. For best results, always consult the manufacturers’ guidelines, and seek professional advice for any specific project concerns.
frequently asked questions (FAQs)
Do vinyl tiles stick to plywood?
Yes, vinyl tiles can stick to plywood. The key to a successful adhesion is the proper preparation of the plywood surface. This involves cleaning and smoothing out the surface, making it free from dust, grease, and unevenness. A primer might be needed to seal the porous plywood surface, which helps to create a stronger bond. It’s also important to allow the vinyl tiles to acclimate to the room’s temperature and humidity before installation.
How do you get vinyl tile to stick to wood?
To get vinyl tile to stick to wood, start by cleaning the wood surface thoroughly, removing all dust and debris. Sand the surface of the wood to make it smooth, and apply a coat of primer if it’s a porous surface like plywood. After the surface is prepared, use an adhesive suitable for both vinyl tiles and wood. Lay the tiles according to your desired pattern, applying pressure to ensure a good bond. Let the adhesive dry according to the manufacturer’s instructions.
What helps peel and stick tiles stick better?

Preparation helps peel and stick tiles stick better. Start by cleaning the surface from any dust, grease, or dirt, and make sure it’s completely dry before you start. Also, a flat, smooth, and well-primed surface is important. Priming seals the surface and prevents moisture or air from interfering with the tile adhesive. Finally, ensure the tiles are at room temperature before installation, as cold tiles tend to become less adhesive.
Should you use extra adhesive with peel and stick tile?
Typically, you shouldn’t need to use extra adhesive with peel and stick tiles as they already come with a pre-applied adhesive layer. However, in cases where the floor surface is uneven or highly porous, or in high moisture areas like bathrooms, using a bit of additional adhesive can ensure a more secure bond between the tiles and the surface. Remember to check the tile manufacturer’s instructions before applying additional adhesive.
Conclusion:
Getting vinyl tiles to stick to plywood is achievable, but it requires careful preparation and appropriate application. Cleaning, sanding, and priming the plywood surface can significantly improve adhesion, along with the use of a suitable adhesive.
Addressing issues such as temperature and humidity can also ensure optimum sticking conditions. Although pesky problems like tiles not sticking can crop up, they can often be solved by following these steps and the manufacturer’s instructions.


