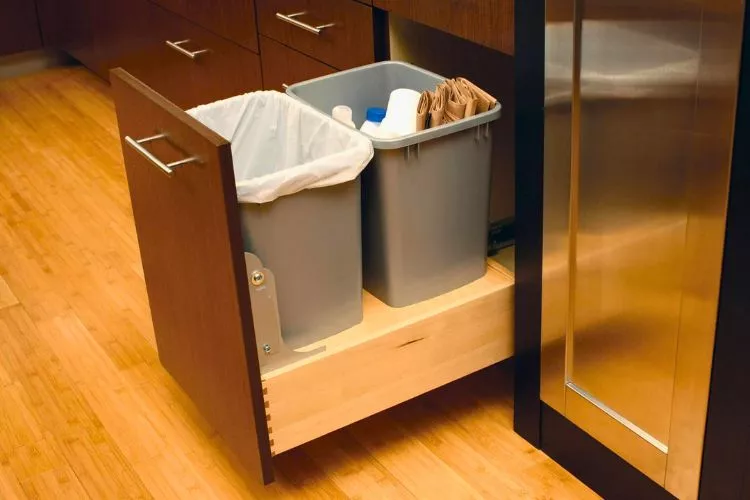
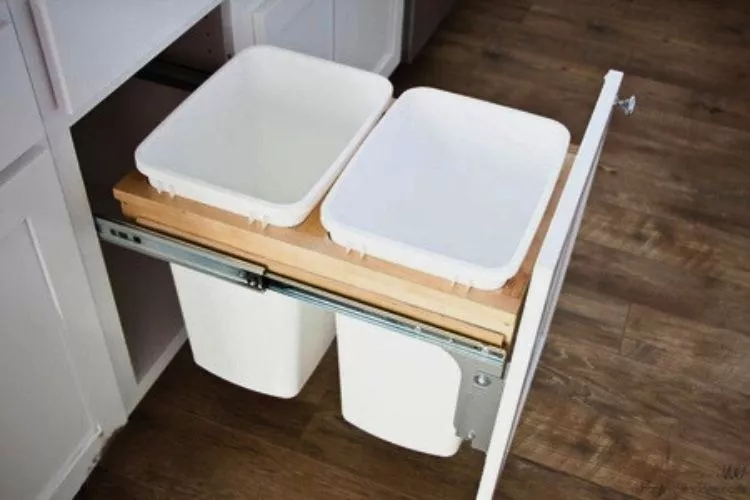
A sliding garbage drawer is a convenient addition to any kitchen, providing easy access to dispose of waste without cluttering the floor space.
However, there may come a time when you need to remove a sliding garbage drawer, either for maintenance or to install a new one.

In this comprehensive guide, we will walk you through the process of safely removing a sliding garbage drawer in five easy steps. So, let’s get started!
how to remove a sliding garbage drawer? A Stepwise Guide
Before diving into the removal process, it is important to prepare properly. Gather the necessary tools such as a screwdriver, pliers, and possibly a wrench depending on the type of sliding mechanism involved.
Additionally, ensure safety by wearing gloves and protective eyewear.
Empty the Trash Drawe
To begin, empty the trash drawer completely. Remove any remaining trash bags and dispose of them properly. This step will make it easier to access and maneuver the drawer during the removal process.
Remove the Drawer
Next, locate the release mechanism or locking clips on each side of the drawer. Depending on the type of drawer you have, these clips may be spring-loaded or require manual manipulation. Use your fingers or a screwdriver to release the clips, allowing the drawer to slide out partially.
Remove the Drawer from the Slider
Once the drawer is partially extended, lift it slightly and tilt it forward. This will disengage it from the slider mechanism. Once disengaged, gently pull the drawer completely out from the slider, ensuring a smooth and controlled motion.
Remove the Remaining Slider
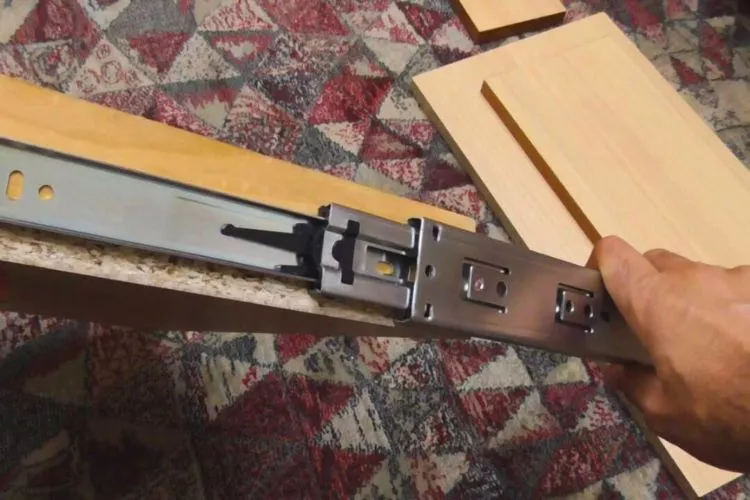
With the drawer removed, you can now focus on removing the remaining slider mechanism. Locate the screws or fasteners that secure the slider to the cabinet or mounting bracket.
Use a screwdriver or appropriate tool to loosen and remove these fasteners. Once removed, the slider should come loose easily, allowing you to remove it completely from the cabinet.
Re-installing a Garbage Drawer
Now that you have successfully removed the sliding garbage drawer, you may be looking to install a new one. Here are some tips to guide you through the re-installation process:

Tips for Choosing a New Drawer: Consider the size and capacity required for your specific needs. Measure the cabinet space accurately to ensure a proper fit. Additionally, choose a drawer with a sturdy and durable construction to withstand regular usage.
Tips for Re-installing: Begin by placing the slider mechanism back into the cabinet, using the same fasteners that were removed. Ensure a secure fit by tightening the screws or fasteners appropriately. Once the slider is in place, carefully align the new drawer with the slider, making sure it engages smoothly.
Follow the manufacturer’s instructions for any additional steps, if applicable.
How to remove a drawer with full extension slides?
To remove a drawer with full extension slides, you can follow these general steps:

- Empty the drawer: Remove all items from the drawer and set them aside.
- Extend the drawer fully: Open the drawer completely to expose the slides.
- Locate the release levers: Look for the release levers or tabs on each side of the drawer. These levers or tabs are usually located near the front of the slides.
- Press the release levers or tabs: Simultaneously press the release levers or tabs on both sides of the drawer. Applying equal pressure to both sides will release the drawer from the slides.
- Pull the drawer out: While holding the release levers or tabs, carefully pull the drawer out of the cabinet or furniture piece.
Now you have successfully removed the drawer with full extension slides.
Please note that the specific method to remove a drawer with full extension slides may vary depending on the type and brand of the slides. If you have trouble removing the drawer, it may be helpful to refer to the manufacturer’s instructions or consult a professional for assistance.
Frequently Asked Questions (FAQs)
How long does it take to remove a sliding garbage drawer?
The time required to remove a sliding garbage drawer depends on factors such as the type of mechanism and your familiarity with the process. On average, it should take around 20-30 minutes.
Do I need any special tools to remove a sliding garbage drawer?
Basic tools such as a screwdriver, pliers, and possibly a wrench will suffice for most sliding garbage drawer removals.
Can I re-use the same slider for a new trash bin?
In some cases, it may be possible to re-use the slider mechanism. However, this depends on the condition of the slider and its compatibility with the new trash bin. It’s recommended to consult the manufacturer’s guidelines or seek professional advice.
How do I know what size garbage drawer to buy?
To determine the appropriate size, measure the dimensions of your existing cabinet space. Consider the width, depth, and height requirements when selecting a new garbage drawer.
What are some common issues encountered when removing old garbage drawers?
Common issues may include stuck or jammed drawers, rusty or corroded fasteners, and difficulty in disengaging the slider mechanism. Patience, proper tools, and following the step-by-step guide can help overcome these challenges.
Conclusion:
Removing a sliding garbage drawer may seem daunting at first, but with the right approach, it can be a straightforward task. By following the step-by-step guide provided, you can safely remove your sliding garbage drawer without any hassle.
Remember to take necessary safety precautions, gather the required tools, and carefully follow each step. Soon enough, you’ll have the old drawer removed, ready to make way for a new and improved sliding garbage drawer that will bring convenience and efficiency to your kitchen space.


