When your can opener starts to falter, there’s no need to panic. This handy tool, crucial to many kitchens, sometimes encounters issues. However, most problems are easy to fix.
This article walks you through common can opener problems and their solutions.
Get ready to rediscover your can opener’s efficiency while learning how to fix can opener easily!
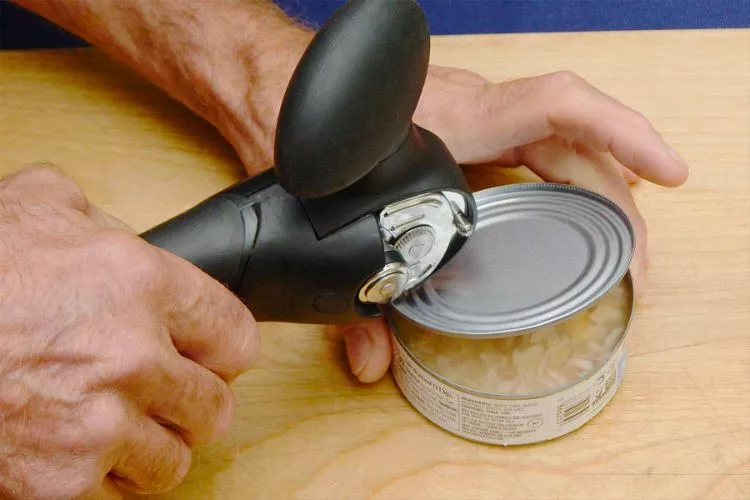
Let’s ensure it runs smoothly for years to come, saving you both time and money. All it takes is a bit of know-how, a touch of patience, and you’re off to a great start.
how to fix can opener? A Stepwise Process
Before you start troubleshooting, it’s essential to identify the specific issue with your can opener. The problem might be due to rust, a difficulty in turning the mechanism, or a poor grip on the can.
Observe your opener’s performance and inspect it closely to pinpoint the root cause of its inefficiency. This way, you can focus on targeted solutions and save time.
Clean the Can Opener
Often, a buildup of dirt and debris can hinder the functioning of your can opener. To clean, fill a basin or sink with warm water and mix in a few drops of mild dish soap.
Immerse your can opener in the soapy water and use a soft cloth or toothbrush to scrub around the gears and the blade. Be cautious while cleaning the blade to avoid injury.
Once clean, rinse your can opener under running water and wipe it dry before attempting any further repairs.
Get Rid of Rust
Rust on can openers can make them nearly unusable. Check for any rusted areas along the gears, blade, or handle.
If present, use a commercial rust remover or a homemade solution, such as white vinegar. Carefully apply the rust remover according to its instructions, which typically involves dampening a cloth or sponge with the solution.
Gently scrub the rusted parts until you remove all noticeable rust, then thoroughly rinse and dry your can opener.
Sharpen Blade
A dull blade can make opening cans more difficult. To sharpen your can opener’s blade, use a knife sharpening stone or a similar tool.
Wet the stone, then gently slide the blade across the surface at a consistent angle (about 20 degrees). Repeat this process a few times to sharpen the blade, keeping it in contact with the sharpening stone. Afterward, remember to rinse and dry the blade, as well as your sharpening stone.
Replace Parts
The issue could also lie with a specific worn-out component, such as the handle, gears, or blade. Inspect your can opener for any damaged parts and search for suitable replacement parts online or at a local store.
Once you’ve purchased these replacements, follow the manufacturer’s instructions to install them properly on your can opener.
This process is typically straightforward, involving the removal of a few screws and clips. However, always ensure you carefully read the guidelines before fitting the new parts.
Final Test
With your can opener cleaned, sharpened, and repaired, it’s time to test its performance. Open a can and carefully observe if any issues persist.
If your can opener now works smoothly, you’ve succeeded in restoring its functionality. If not, consider seeking professional assistance or investing in a new opener.
Performing regular maintenance and cleaning can prolong the lifespan of your can opener and keep it running efficiently. Now that you know how to address common issues, enjoy frustration-free cooking with your restored can opener.
Can opener misaligned?
A misaligned can opener can cause frustration and inefficiency when you’re trying to open cans. Fortunately, fixing the alignment is generally straightforward. Here’s a detailed guide to help you address the problem:
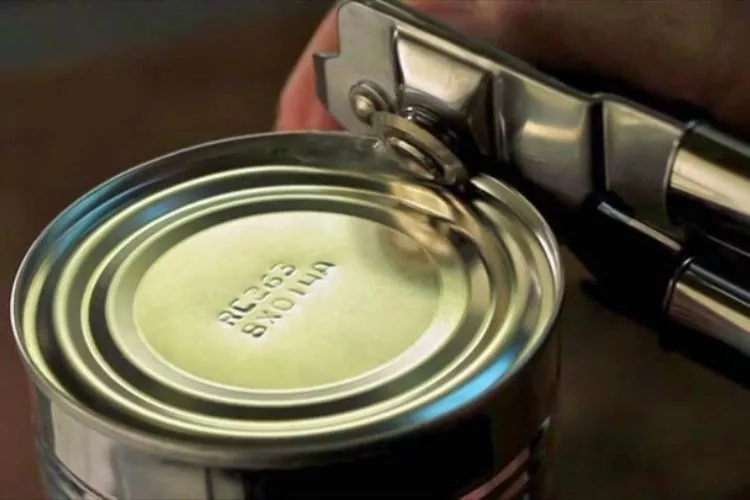
Identify the Misalignment
First, inspect your can opener closely to determine where the misalignment is occurring. This could involve a crooked blade, a dysfunctional gear mechanism, or an improperly aligned grip. By understanding the root cause, you’ll be able to target your repair efforts more effectively.
Tighten Any Loose Parts
Over time, the screws and other small components in a can opener can loosen, causing the misalignment. Begin by checking all the screws and making sure they are tightly in place.
For any loose screws, use a screwdriver to tighten them firmly, ensuring that they secure your can opener’s components properly.
Check the Gear Mechanism
Examine your can opener’s gear mechanism to ensure it’s functioning smoothly and in proper alignment. Turn the handle and observe if the gears engage as they should.
If the gears are misaligned, gently push them back into position by applying pressure. Be careful not to force them, as excessive pressure can cause damage.
If the gears are heavily worn or damaged, consider purchasing a replacement gear set. To replace the gears, follow the manufacturer’s instructions and ensure you properly align the new gears when installing them.
Adjust the Blade and Grip
If the blade or grip is misaligned, try to gently adjust it back into the correct position. You can use a pair of pliers or your hands to realign the components carefully. Again, avoid applying too much force to prevent further damage.
If the blade is bent or damaged, you may need to replace it. Purchase a compatible replacement blade and follow the manufacturer’s instructions to install it correctly.
Test the Can Opener
With the adjustments made, test your can opener by opening several cans. Observe if the misalignment is resolved and the can opener now functions smoothly and efficiently.
If the issue still persists, you might want to consider seeking professional assistance or investing in a new can opener.
Maintaining and regularly cleaning your can opener will help prevent common issues, such as misalignment, and ensure it runs effectively. With these steps, fix your misaligned can opener and enjoy hassle-free cooking.
How to take apart a can opener?
Taking apart a can opener can come in handy when it needs a deep clean or if a part needs replacing. Here’s a step-by-step guide to help you dismantle your can opener.
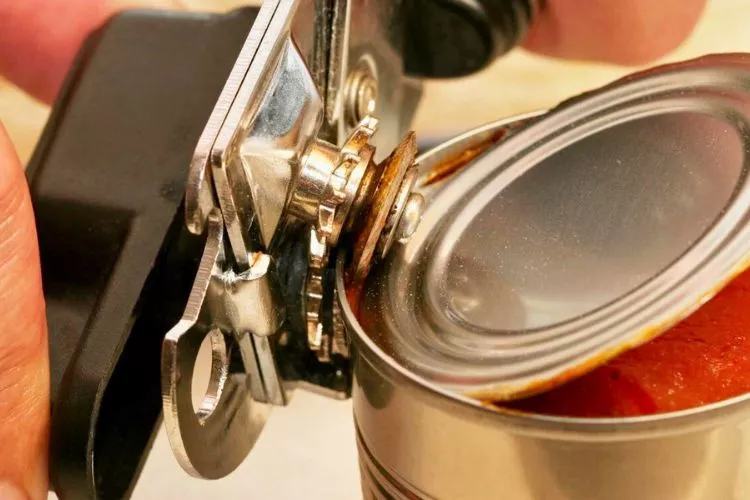
Gather Necessary Tools
You’ll need a screwdriver that fits the screws on your can opener. Often, a small or medium Phillips head is the right choice. You might also need a pair of pliers for tougher parts. Ensure you have all tools ready before starting.
Remove the Handle
Most can openers have a knob or handle that turns to rotate the gear. Usually, this is held in place with a central screw. Use your screwdriver to unfasten it, then lift off the handle.
Remove the Gears
After removing the handle, you’ll see the gears that rotate the blade. These could be secured with additional screws. If so, use your screwdriver to remove them. Once unscrewed, the gears should lift off easily. Be mindful of smaller components that may come loose.
Remove the Blade
The blade of a can opener usually sits below the gears. After removing the gears, you should be able to see how the blade is attached.
Often, there is a screw keeping it in place. Unscrew this and remove the blade. Remember, handle the blade with care to avoid injury.
Remove the Gripper
On the opposite side of the blade, there’s often a gripper. This part helps secure cans while opening. Like the blade, it is usually attached with screws. Remove these, then lift off the gripper.
Clean, Repair, or Replace
Now your can opener is fully disassembled, you can clean each part, replace faulty components, or locate any other issues. Remember, always work slowly and carefully.
Keep track of all screws and smaller parts, as these can be easily lost. Finally, when reassembling, reverse these steps, ensuring every piece lines up correctly to make your can opener function smoothly again.
How to fix can opener handle?
If the handle on your can opener is broken or not functioning efficiently, you might need to repair or replace it. Here’s a step-by-step guide to help you fix it:
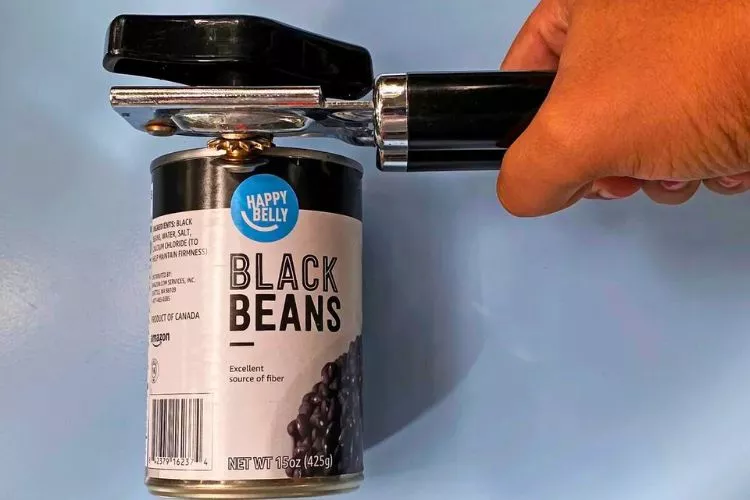
Understand the Problem
Before starting the repair, try to understand exactly what’s wrong with the handle. It could be loose, jammed, cracked, or completely broken. Understanding the issue will help direct your repair efforts.
Tighten Loose Parts
If the handle is loose, it may be due to a loose screw. In this case, use a screwdriver that fits the screw on your can opener handle. Turn the screw clockwise until it’s secure. Do not overtighten as it could strip the screw hole or damage the handle.
Fix a Jammed Handle
If your can opener handle is jammed and not rotating efficiently, it might need cleaning or lubrication. A toothbrush or small scrub brush can effectively clean small parts and gears. You could also consider using a spray like WD-40 to lubricate the handle mechanism.
Replace a Broken Handle
If your can opener handle is broken or cracked, the best solution could be to replace it. Search for a suitable replacement online, perhaps from the manufacturer’s website or a trustworthy online retailer. Once you have a new handle, you’ll need to remove the old one—usually fastened by a central screw—and then attach the new handle in its place.
Always remember to perform these maintenance checks and repairs with care to prevent any accidental injuries.
Conclusion:
fixing a can opener is a manageable task that requires a thorough understanding of the problem, a careful inspection of the parts, and the application of targeted solutions.
Whether it’s a misalignment, a worn-out blade, or a dysfunctional handle, most issues can be solved through cleaning, adjusting, or replacing the affected parts.
Regular maintenance and cleaning significantly extend your can opener’s lifespan, maintaining its effectiveness for many years. If efficiency doesn’t improve despite attempts at fixing, it may be time to seek professional help or consider a new can opener.

