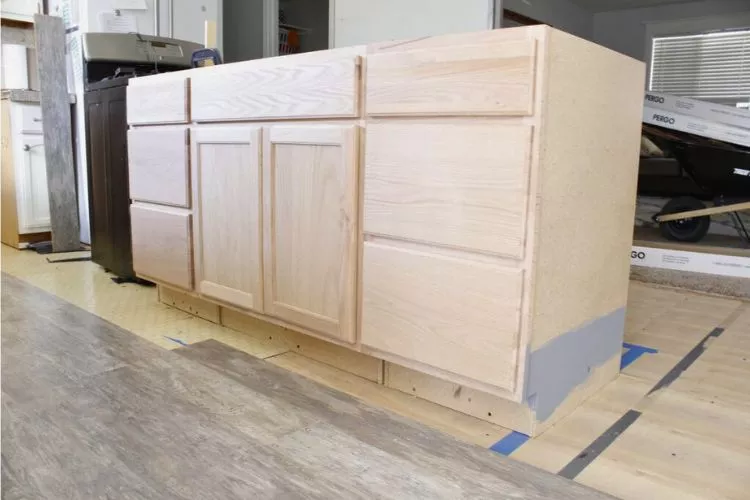
A kitchen island is a versatile and functional addition to any kitchen space. It can serve as an extra workspace, storage, and dining area.
However, one crucial aspect of installing a kitchen island is ensuring its stability and security.
This article will provide a comprehensive guide on how to secure kitchen island to the floor. So, get ready to give your kitchen a stylish, functional, and safe upgrade!

how to secure kitchen island to The floor?
This comprehensive guide will provide step-by-step instructions on securing your kitchen island to the floor.
For better readability, we’ve divided the content into 8 easy steps.
Let’s begin!

Gather the Necessary Tools and Materials
Before you start, make sure you have all the necessary tools and materials:
- Drill and drill bits
- Level
- Screwdriver
- Tape measure
- Marker or pencil
- Brackets (L-brackets or corner braces)
- Lag screws or bolts
- Washers (optional)
- Wood shims (if needed)
- Vacuum (optional, but useful for cleanup)
Inspect and Prepare the Area
Before securing the island, you must ensure the area is suitable.
- Check the floor: Make sure the floor is sturdy, level, and free of any obstructions, such as electrical wires, pipes, or vents.
- Inspect the island: Ensure the island is in good condition and has no structural issues.
- Clean the area: Vacuum or sweep debris near the installation site.
Position the Kitchen Island
Carefully move the kitchen island into its desired location. Make sure it’s at the correct distance from other appliances and cabinets and has ample walking space around it.
Check for levelness: Use the level on all four sides of the island to ensure it’s level. If the island isn’t level, you can use wood shims to compensate for discrepancies.
Measure and Mark the Bracket Locations
After the initial preparations and positioning of the kitchen island, it’s time to precisely measure and mark the locations for brackets. Here’s a more detailed way of going about this process:
- Measure the island’s perimeter: This is where your tape measure comes into play. Carefully measure the length and width of your island, noting these dimensions. This ensures the brackets’ proper spacing, providing an evenly distributed supporting structure for your kitchen island.
- Decide where to place brackets: Identifying where to place the brackets is crucial for the island’s strength and stability. To make it stable, you should locate the studs on the floor, as they will provide the most secure anchor for your island. Using a stud finder can make this process easier.
- Finalize bracket positions: Now, you need to finalize where to place the brackets. Hold each bracket up to the bottom of the kitchen island, aligned with the marked locations, and use the level to confirm they are exactly horizontal.
Check on two planes–side to side and front to back. If any adjustments are necessary, shift the bracket up, down, or sideways to the exact alignment and mark the holes’ positions on the floor.
Drill Pilot Holes
Drilling pilot holes is critical in ensuring the screws or bolts are secured accurately. This process prevents the wood from splitting and allows the screws to be inserted more easily.

- Remove the island: Before you can begin drilling, you’ll need to move the kitchen island away from the marked positions on your floor. Take care when moving the island to prevent any damage to your floor.
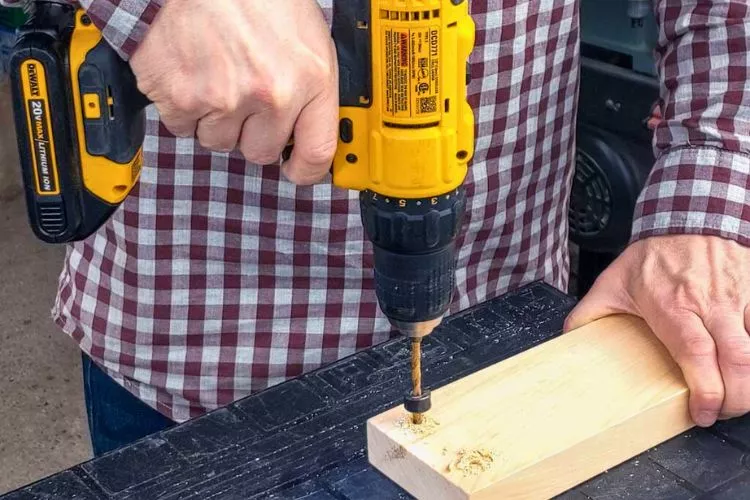
- Drill pilot holes: Now it’s time to drill. Use a drill bit that’s slightly smaller than the size of your chosen screws. Drill holes where you previously marked for bracket placement.
These holes should penetrate the entire floor thickness to ensure a high degree of security for the island. Be extremely careful to avoid penetrating any potential pipes or electrical wires under your floor surface.
You may need to drill additional holes if you use a corner brace instead of an L-bracket. Carefully note the positions of these holes when aligning your corner braces, and mark them before drilling.
Attach the Brackets to the Floor
With the pilot holes in place, it’s time to secure the brackets to the floor. Pay close attention to each step to ensure a stable and reliable installation.
- Position each bracket: Carefully place the brackets over the locations you marked and drilled, aligning the holes with the drilled pilot holes. Ensure the brackets’ orientation matches the structure of your island, with the right angles pointing toward the center of the kitchen island.
- Choose appropriate hardware: Based on the thickness and type of your floor materials, select the appropriate size lag screws or bolts and washers for your specific application. The right choice will ensure a stable and sturdy result.
- Install lag screws or bolts: With a washer on each lag screw or bolt, insert them through the brackets and into the pilot holes. Use a power drill with the appropriate bit, or a wrench, to securely fasten the screws/bolts to the floor. Stop tightening when the bracket is flush with the floor—over-tightening can damage or strip the screws.
- Double-check your work: Examine the brackets to ensure they are firmly secured to the floor and have no wiggle or movement.
Attach the Kitchen Island to the Brackets
With the brackets secured to the floor, it’s time to attach your kitchen island to the brackets. Check your alignment and carefully secure the island.
- Slide the island carefully: Slowly and carefully slide the island back into place, ensuring the edges and corners align with the attached brackets. Watch for any obstacles or wires around the installation site.
- Choose appropriate hardware: Select the right size screws or bolts for your kitchen island’s specific material and thickness.
- Secure the island to the brackets: With your chosen screws or bolts, secure the island to the brackets by driving them through the brackets and into the island’s base. Ensure the attachments are tight, but avoid over-tightening, which can damage the island’s structure.
Perform Final Checks
Now that your kitchen island is securely attached to the brackets, performing some final checks for completeness is essential.
- Use the level again: Place it on different spots on the island’s surface to ensure it remains level after attaching it to the brackets. If there’s an issue, you may need to add shims or loosen the attachments slightly and re-check the level.
- Perform a wiggle test: Gently shake or nudge the island from various angles. Ensure the island is securely fastened to the floor without movement or wobbling. If there’s any instability, re-check the attachments and tighten them if necessary.
How do you secure a kitchen island to a tile floor?
Securing a kitchen island to a tile floor involves a few steps. This guide will walk you through each step to ensure your island is secured properly.

Materials Needed:
- Drill
- Masonry drill bit
- Screwdriver
- Screws
- Wooden blocks or cleats (2×2 inches)
- Tape measure
- Pencil
Secure a Kitchen Island to a Tile Floor: Step By Step
- Step 1: Positioning the Kitchen Island: First, place the island exactly where you want to install it on the tile floor.
- Step 2: Measurement: Remove the island and measure the island base or cabinet’s inside perimeter using a tape measure.
- Step 3: Marking the Perimeter: Next, you must mark the measurements you just took on the tile floor using a pencil. It’s important to mark the inside perimeter of where the island will go.
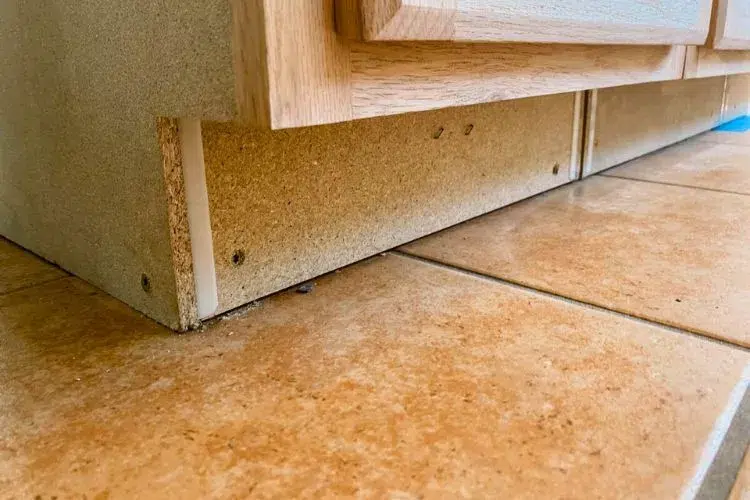
- Step 4: Placing the Wooden Cleats: After the area is marked, you need to position wooden strips, or cleats, on the inside of your pencil markings on the floor.
- Step 5: Drill holes through each wooden block before securing the wooden cleats. Making the holes about 2 inches in from each end of the blocks is advisable. For blocks over 8 inches, drill an additional hole through the center. These are your pilot holes. They prevent the wood from splitting when you screw the blocks to the floor.
- Step 6: Securing the Cleats to the Tile Floor: After making the pilot holes, take your masonry drill bit to drill holes into the tile and subfloor, where you marked your hole placement on the wooden cleats. Next, switch to a screwdriver bit and screw your cleats down into the holes you drilled.
- Step 7: Positioning the Kitchen Island: Finally, place the island back on top of the cleats. The cabinet should fit over the cleats snugly to keep it from moving.
Frequently Asked Questions (FAQs)
Does flooring go under or around the kitchen island?
Answer: Installing flooring around a kitchen island is generally less common. It is often recommended that flooring runs under the entire area where the kitchen island will be placed. Doing this provides a clean and professional look while allowing flexibility if you want to move or change the island later. The kitchen island will then be secured to the subfloor and needs to be properly attached to ensure stability and safety.
Should the kitchen island be attached to floor?
Answer: Yes, a kitchen island should be securely attached to the floor, especially if it is a permanent installation or has a cooking or sink function. Attaching the island to the floor provides stability, preventing the island from moving or tipping, which could cause accidents or damage. The most common method of attaching a kitchen island to the floor is using wooden cleats or attaching L brackets directly. This ensures optimum safety and stability for your kitchen island.
Can you glue down a kitchen island?
Answer: Gluing down a kitchen island is not recommended for securing it to the floor. While some adhesives may provide temporary stability, they often lack the long-term strength and reliability required for a kitchen island that may hold heavy appliances or countertops. Using wooden cleats or brackets to attach your kitchen island to the floor is more advisable. This method provides better stability and ensures the island remains safely in place during regular usage and potential movement.
Conclusion:
Securing a kitchen island to the floor is a crucial step in kitchen installation that ensures safety and stability. Whether working with a tile or hardwood floor, the process requires precision, patience, and the right tools and materials.
Remember, the key lies in carefully measuring the island’s base, accurately marking your cleat positions, and efficiently securing them to the floor.
While there are several methods to secure your kitchen island, using wooden cleats or brackets proves to be the most reliable and sturdy approach.
By following the detailed steps in this guide of how to secure kitchen island to the floor, you can confidently and correctly secure your kitchen island to the floor, enhancing the functionality and safety of your kitchen space.


