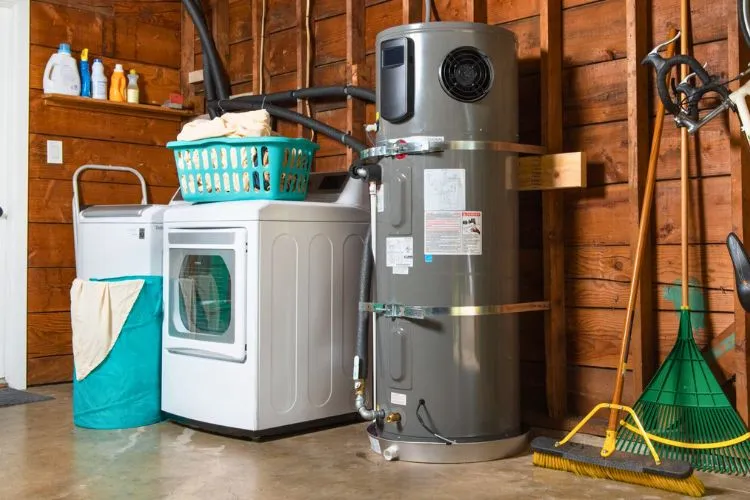
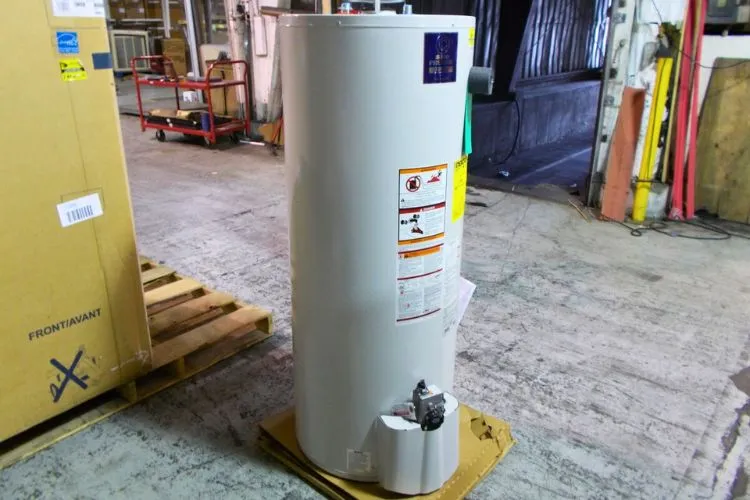
Maintaining a household requires attention to all components, especially ones as crucial as the water heater. An often overlooked aspect is the necessity to periodically drain these units.
But, do you know how long does it take to drain a 50 gallon water heater?
Focused on 50-gallon water heaters, this article delves into the process, timing, and reasons behind draining these sizable appliances.

Why Drain Your Water Heater?
Sediment build-up is a common issue in water heaters. This sediment, primarily consisting of minerals from hard water, settles at the bottom.
Over time, it can cause inefficiency, decreased water volume, and even premature failure of the water heater. Draining the heater helps remove these sediments, ensuring the unit operates efficiently and lasts longer.
Understanding Water Heaters
A 50-gallon water heater is a common size for a family home, providing enough hot water for showers, laundry, and dishwashing. These heaters come in two main types: electric and gas.
The type can influence the time it takes to drain and the steps involved, but the basic principles remain consistent across both.
Preparation Steps Before Draining
Safety first. Ensure the power source to the heater is turned off. For electric heaters, this means flipping the breaker. For gas units, turn the gas valve to the “off” position.

Prepare the discharge area to handle the volume of water without causing damage or flooding. Gathering the necessary tools beforehand – a hose, bucket, and gloves – will streamline the process.
How Long Does It Take To Drain A 50 Gallon Water Heater?
The time it takes to drain a 50-gallon water heater can vary. On average, expect anywhere from 20 minutes to a few hours.
This timing can depend on factors such as the amount of sediment in the tank, the diameter and length of the hose, and the water pressure. More sediment or a longer, thinner hose may slow down the process.
Starting the drain involves connecting a hose to the heater’s drain valve and leading the other end to a suitable drainage area. Opening the drain valve and the pressure relief valve enables water to flow out.
It’s important to let the water drain fully for a thorough sediment removal.
During this process, ensuring the drain valve is fully open can expedite the drainage. Initially, consider capturing some water in a bucket. This water can offer insight into the sediment level within the tank.
After Draining: What Next?
Once the tank is empty, the next steps involve closing the drain valve, disconnecting the hose, and refilling the tank.
It’s crucial to ensure no air pockets remain in the tank, so keep the pressure relief valve open until a steady stream of water flows from it. Afterward, turn the power source back on and inspect for any leaks, addressing them promptly if found.
