As a homeowner, encountering drywall cracks in the corners of your walls can be a frustrating experience.
These unsightly and potentially damaging fissures can tarnish the aesthetic appeal of your living spaces, and left untreated, might pose severe structural issues.
Our comprehensive guide on how to fix drywall cracks in corners articulates simple, yet efficient DIY strategies to address this common conundrum.
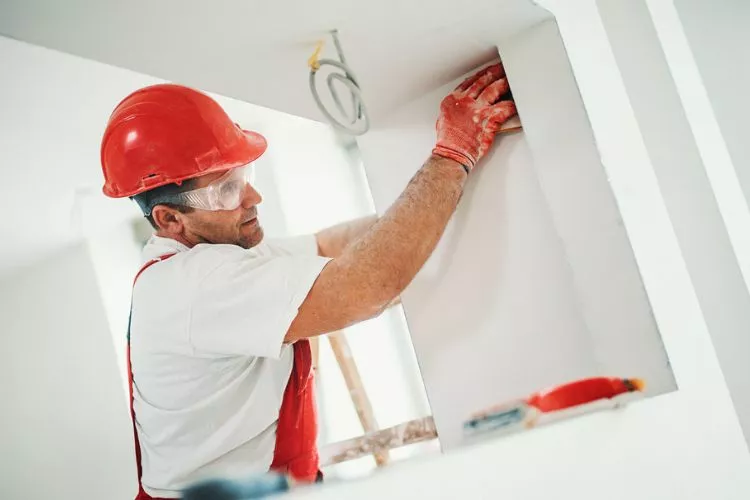
Whether you’re a seasoned DIY enthusiast or a novice home improvement buff, our step-by-step process to fix drywall cracks in corners has you covered. Dive in and find out the best practices to keep your walls looking elegant and sturdy.
how to fix drywall cracks in corners? An Easy To Follow Guide
Dealing with drywall cracks can be frustrating, especially in the corners where they can be tricky to repair without the right instructions. Here’s a useful guide on how to fix drywall cracks in corners.
Tools and Materials Needed
- Joint compound
- Mesh or paper tape
- Sandpaper (120 or 150 grit)
- Corner tool or wide putty knife
- Utility knife
- Paintbrush or Paint Roller
- Primer and Paint matching your wall’s color
Step 1: Take Precautionary Steps
Before beginning, lay down a drop cloth to protect your floor from dust and debris. Next, take time to inspect the crack. Is it due to your house settling, or does it indicate a structural issue requiring expert help? Small hairline cracks can usually be fixed with the following steps.
Step 2: Clean the Crack
Using a utility knife, remove any loose debris from the crack. Widen it slightly to enable a better application of the joint compound. Make sure the working area is clean and free from dust.
Step 3: Apply the Mesh or Paper Tape
Apply a strip of either mesh or paper tape over the crack. This functions as a base for the joint compound, helping to prevent the crack from reappearing.
Step 4: Mix and Apply Joint Compound
Mix your joint compound based on the manufacturer’s instruction. Apply it over the tape, making sure to cover it completely. Ensure the compound extends beyond the tape for a smooth finish.
Step 5: Smooth the Compound
Using a corner tool or wide putty knife, smooth out the compound. Spread it evenly along the corner, pressing firmly to ensure adherence.
Step 6: Let it Dry and Sand
Let the compound dry for the period suggested by the manufacturer, then gently sand the area using 120 or 150 grit sandpaper. Avoid removing too much compound; you’re just looking to smooth out any rough patches.
Step 7: Repeat if Needed
If the repaired area isn’t as smooth as you would like, repeat step 4 to step 6 till you achieve a smooth, seamless finish.
Step 8: Prime and Paint
Once you’re happy with the repair, apply a coat of a quality primer to the repaired area. After the primer is dry, paint over the area with paint that matches your wall color.
By following these steps, you’ll be well-equipped to fix drywall cracks in corners. Remember, the key is patience and careful application to make your wall look as good as new. Should you find severe or recurring cracks, it might be wise to seek professional help.
How to fix drywall cracks on outside corners?
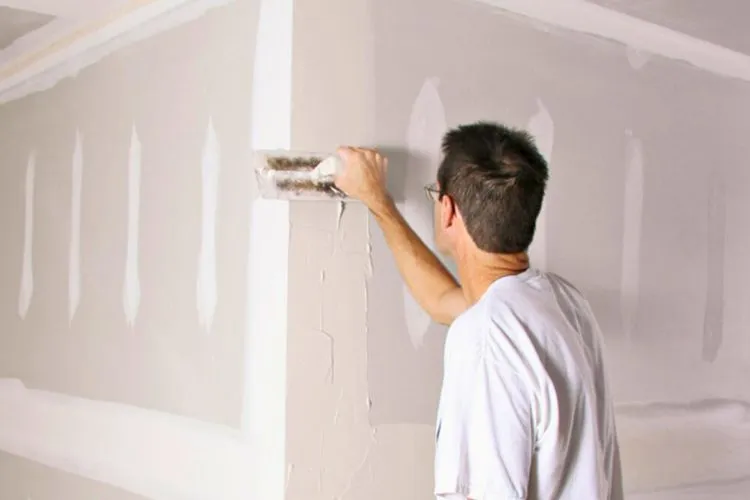
Fixing drywall cracks on outside corners can seem more intimidating than patching flat wall surfaces, but the process is similar with just a few additional steps.
Here’s a step-by-step guide to help you patch up those unsightly cracks with ease.
Tools and Materials Needed
- Joint Compound
- Corner bead
- Drywall screws
- Screwdriver or drill
- Mesh Tape
- Sandpaper (120 or 150 grit)
- Wide and small putty knives
- Utility knife
- Primer and Paint
Step 1: Initial Preparation
Start by clearing the workspace and laying down a drop cloth to keep the area clean. Use the utility knife to carefully clear the cracked area from any loose material.
Step 2: Remove Damaged Corner Bead
If the damage includes the corner bead itself – the metal or plastic strip used to protect the outside corners of drywall – use a screwdriver or pry bar to carefully remove it.
Step 3: Install New Corner Bead
Measure the length of the corner where the new corner bead is to be installed. Cut the bead to size with a pair of tin snips or a hacksaw. Then, secure the bead to the corner using drywall screws.
Step 4: Apply Mesh Tape
Cover the corner bead with mesh tape. It aids in providing a good base for the joint compound and adds to the strength of the repaired corner.
Step 5: Apply the First Coat of Joint Compound
Mix the joint compound and carefully apply a layer over the mesh tape. Use the small putty knife to push the compound into the mesh, then smooth it out with the wider putty knife.
Step 6: Allow it To Dry and Then Sand
Let the joint compound dry thoroughly, as per the timeframe suggested by the manufacturer. After drying, lightly sand the area with the sandpaper to level and smooth the joint compound.
Step 7: Apply Second Coat of Joint Compound
Depending on the condition of the corner, you might need to apply a second coat of joint compound for a smooth finish. Allow it to dry and then sand it as before.
Step 8: Prime and Paint
Finally, prime and paint the area to match the rest of your wall. It’s best to apply two coats of paint for a consistent appearance.
Through this process, you’ll be able to successfully repair cracks on the outside corners of your drywall. Attempting to fix these cracks yourself may seem daunting, but with a little patience, the right tools, and this guide, you’ll have your wall looking as good as new.
If the cracks reappear constantly, you may want to consider getting an expert’s opinion to check if there’s a more significant structural issue causing these cracks.
How to Repair Drywall Cracks in Ceiling Corners?
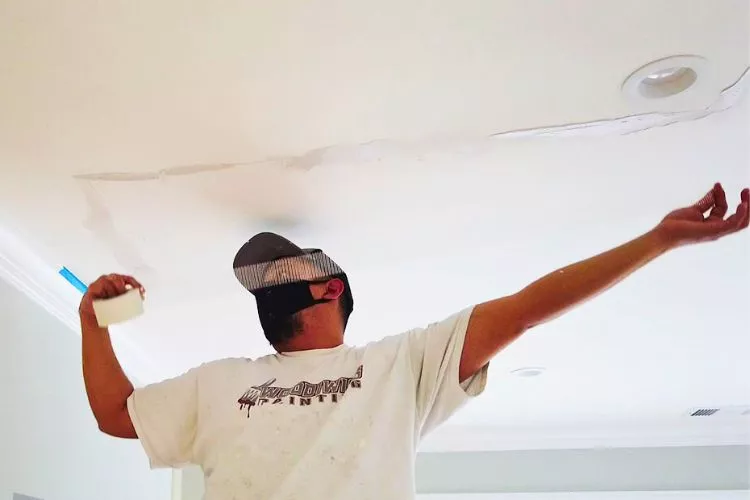
Repairing drywall cracks in ceiling corners can help maintain the integrity and appearance of your home. Follow these steps to effectively repair ceiling corner cracks:
Tools and Materials Needed
- Joint compound
- Mesh or paper tape
- Sandpaper (120 or 150 grit)
- Corner tool or wide putty knife
- Utility knife
- Paintbrush or Paint Roller
- Primer and Paint matching your wall’s color
Step-by-Step Process
- Clean the cracked area: Use a utility knife to remove any loose material and debris from the crack.
- Apply the tape: Cover the crack with mesh or paper tape to provide a surface for the joint compound.
- Apply joint compound: Spread joint compound over the tape, covering it entirely and extending slightly beyond the tape.
- Smooth the compound: Use a corner tool or a wide putty knife to smooth the compound. Ensure it is evenly spread and well-adhered.
- Dry and sand: Let the compound dry according to the manufacturer’s instructions, then sand the area gently with 120 or 150 grit sandpaper.
- Repeat if necessary: If the repaired area isn’t smooth enough, apply more joint compound, dry, and sand until satisfied.
- Prime and paint: Apply primer and paint the repaired area to match the rest of your ceiling.
What Causes Drywall to Crack in Corners?
Drywall cracks in corners can be caused by several factors:
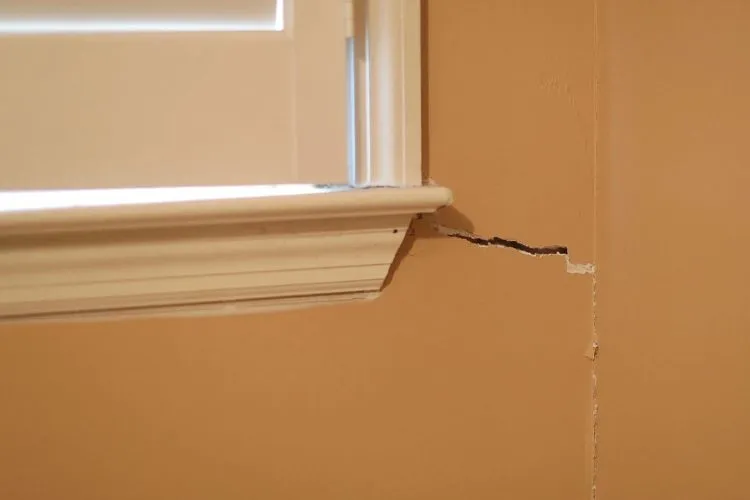
- House settling: As your home settles over time, minor movement may cause drywall joints to crack.
- Improper installation: If drywall was not installed correctly, it might cause stress at seams and corners, leading to cracks.
- Temperature and humidity fluctuations: Changes in temperature and humidity can cause drywall to expand and contract, leading to potential cracking.
- Structural issues: Cracks in corners may indicate structural problems with the framing or foundation, especially if cracks are severe or constantly reoccurring.
Is it OK to Caulk Drywall Corners?
Yes, it is acceptable to caulk drywall corners, specifically in areas where there might be minor gaps or where walls and ceilings meet.
Caulking can provide a flexible seal that mitigates the risk of cracking due to movement or temperature fluctuations.
However, for extensive cracks, it is better to follow the repair steps mentioned earlier, as only caulking may not provide a lasting solution.
What Caulk is Best for Corners?
When choosing a caulk for corners, consider the following attributes:
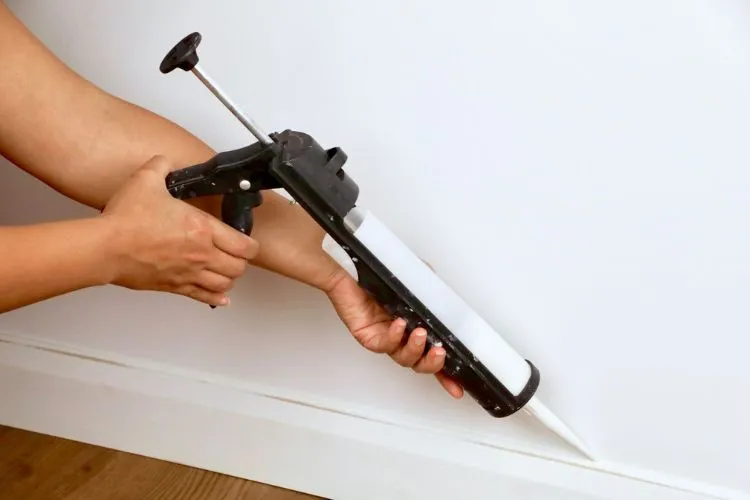
- Paintable: Select a paintable caulk if you plan to paint over it to match the surrounding area.
- Flexibility: A flexible caulk can accommodate changes in temperature and humidity, reducing further cracking.
- Water-resistant: Caulks with water-resistant properties are ideal for areas prone to moisture, such as bathrooms and kitchens.
Some of the best caulks for corners include acrylic latex caulk, silicone-latex caulk, and polyurethane caulk. These caulks adhere well to drywall and provide an effective, flexible seal. Remember to follow the manufacturer’s instructions for optimal performance.
Conclusion:
Addressing drywall cracks in corners doesn’t have to be an insurmountable challenge. With the right tools, materials, and guidance, you can effectively repair these cracks and achieve a smooth, professional finish.
This not only improves the aesthetics of your walls and ceilings but also helps maintain the longevity of your home’s structural integrity.
However, regular recurrence of cracks could indicate underlying structural issues, making it prudent to seek professional opinion.
With patience and care, you can undertake this rewarding DIY task and restore the beauty and integrity of your home’s drywall corners.


