Considering your next culinary experiment involving dehydration but lacking a proper dehydrator? You might wonder if your humble toaster oven could step in and take up the job.
So, can you use a toaster oven as a dehydrator?
Well, typically known for their ability to toast, bake, and broil, toaster ovens go unnoticed for their potential as a dehydration tool.
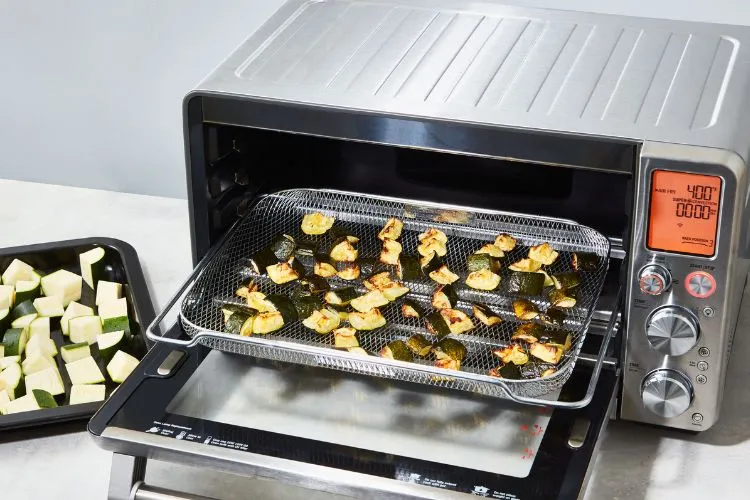
This article plans to explore the configurable aspects of a toaster oven that may turn it into a DIY food dehydrator. Prepare to view this undervalued kitchen staple in a new light!
Can You Use a Toaster Oven as a Dehydrator?
Yes, you can use a toaster oven as a dehydrator. Toaster ovens are versatile kitchen tools that mimic a food dehydrator’s basic function under certain conditions.
Dehydrating foods involves low heat and steady airflow; an average toaster oven can provide both.
To use your toaster oven as a dehydrator, adjust the temperature to the lowest setting possible, often around 120-140 degrees Fahrenheit, and prop the door open slightly to allow moisture to escape.
You’ll have to cut the food into thin slices and space them evenly to promote good airflow.
However, it is important to note that while efficient, a toaster oven won’t have the precise temperature control or the automatic shut-off function that hi-tech dehydrators have.
So, close monitoring is necessary to prevent overheating or underhydration. So, your toaster oven can serve as a makeshift dehydrator, but it may not deliver the same consistent results as a designed one.
How do you dehydrate without a dehydrator?
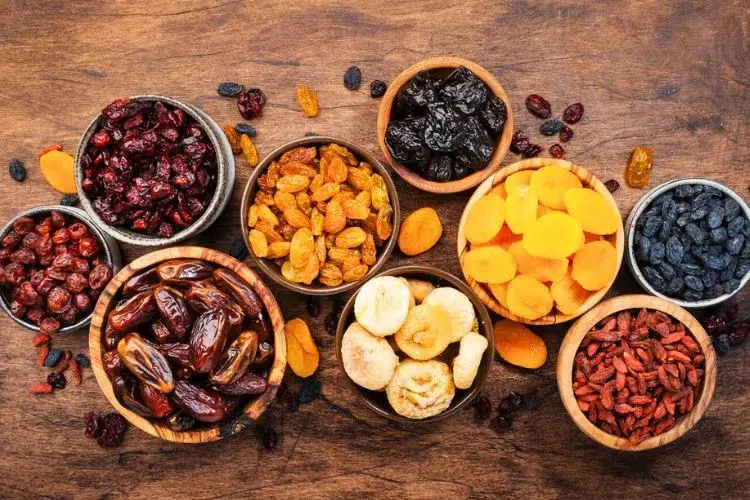
Dehydrating food without a dehydrator is possible using alternative methods such as air drying, oven drying, sun drying, and microwave drying. Each method has its advantages and limitations.
Air Drying
Air drying is an age-old method of food preservation that requires a well-ventilated space and low humidity. It works best for herbs, fruits, and vegetables.
- Herbs: To dry herbs, gather clean and dry stems, then tie the stems together and hang them upside down in a dry, cool, airy space. Place a paper bag with holes around the herbs for protection from dust.
- Fruits and vegetables: Use wire racks or mesh screens, leaving space between the slices for good air circulation. Place the trays in a room with low humidity and good ventilation. The time taken for drying varies depending on the fruit or vegetable. Store the dried pieces in an airtight container.
Oven Drying
An oven can act as an alternative dehydrator.
- Preheat your oven to its lowest heat setting, ideally between 130-140 degrees Fahrenheit.
- Cut the food into thin, uniform slices and spread them on a baking tray lined with parchment paper.
- Ensure the oven door is slightly ajar for proper air circulation and moisture venting.
- Bake the food until it’s dehydrated according to your preference, turning the slices occasionally.
Always closely monitor the process, as it’s easy to overcook the food in an oven.
Sun Drying
Sun drying is suitable for hot, sunny climates with low humidity. It generally works best for fruits like tomatoes, apricots, and peaches.
- Slice the fruit and spread it evenly on clean trays or drying racks.
- Cover the trays with fine mesh or cheesecloth to protect the food from insects and dust.
- Place the trays directly in the sun and rotate them occasionally.
- Bring the trays indoors in the evening to prevent moisture from the cooler air.
Sun-drying can take up to a week, depending on weather conditions.
Microwave Drying
A microwave can be used in a pinch for small batches of herbs.
- Place clean, dry herb leaves on a microwave-safe plate in a single layer.
- Place a microwave-safe cup or mug filled with water on the side (to prevent overheating and reduce the risk of fire).
- Microwave the herbs on high, checking and turning them every 30 seconds.
- The process is usually complete in 2-3 minutes or when the herbs are crispy but not burnt.
Remember that each method requires vigilance and proper food handling techniques to ensure the food dehydrates safely and effectively.
How do you dehydrate in an Oster oven?
Oster ovens are well known for their versatility and can dehydrate food by applying low heat over a prolonged period. Below is a step-by-step guide on dehydrating in an Oster oven.
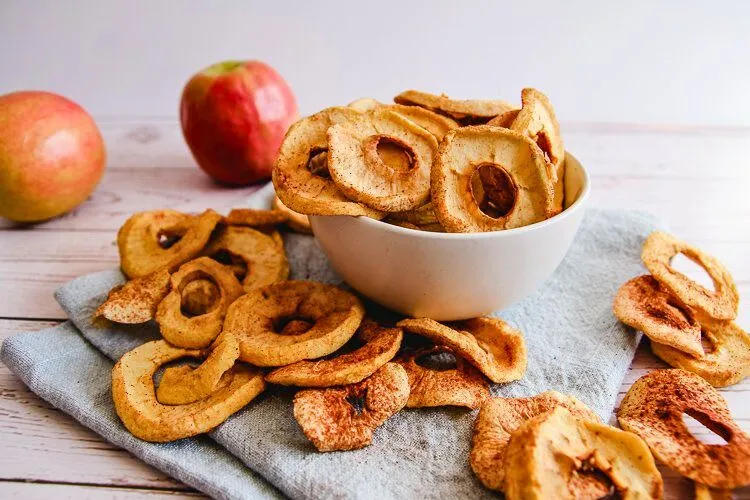
- Step 1: Preparation: Start by preparing your food. Wash it thoroughly, and then cut it into thin slices. The thinner the slices, the more efficient the dehydration process will be. For fruits, you may want to apply a pretreatment such as soaking in lemon juice to prevent browning.
- Step 2: Arrange Food on the Tray: Line the oven tray with parchment paper. Lay out your food slices on the tray, ensuring none are overlapping. Use a fine mesh grate or baking rack for smaller items like herbs to prevent them from falling through the oven racks.
- Step 3: Set the Oven: Turn your Oster oven to its lowest setting, generally about 140 degrees Fahrenheit. If your oven doesn’t go that low, use the “Keep Warm” setting – usually around 145-155 degrees Fahrenheit.
- Step 4: Begin Dehydrating: Place the food tray in the oven. Keep the oven door slightly ajar to assist with air circulation and moisture escape. An easy way to keep it ajar is by propping it open with a wooden spoon or a ball of aluminum foil.
- Step 5: Monitor the Process: The dehydration process in an Oster oven can take 4-12 hours, depending on the type of food and slice thickness. Rotate the trays every few hours for uniform drying. Monitor the food’s progress regularly to prevent over-drying or burning. The food should appear shriveled, leathery, or crispy when done but should not be burned or cooked.
- Step 6: Store the Dehydrated Food. Remove the tray and let the food cool down completely at room temperature. Then, store your dehydrated food in airtight containers in a cool, dark, and dry place.
Remember, using a toaster oven like the Oster oven for dehydration requires more attention than a dedicated dehydrator. So, keep monitoring the process closely to avoid any mishaps.
How do you dehydrate fruit without a dehydrator or oven?
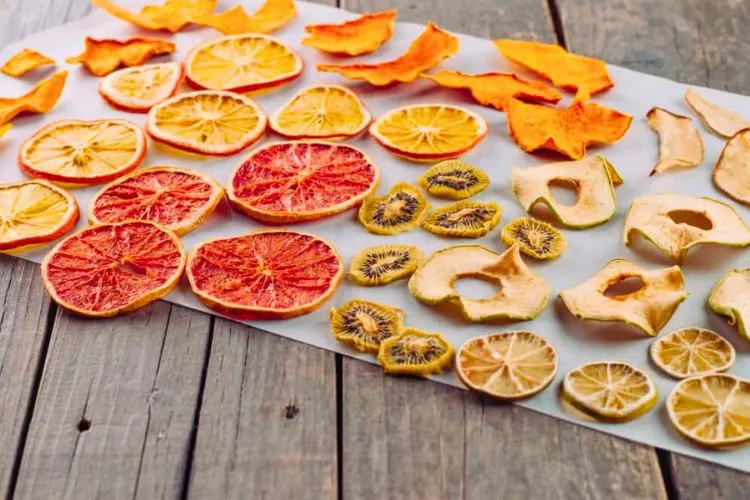
If you don’t have a dehydrator or oven, you can still dehydrate fruit using the following alternative methods. Each method has its own merits and can give you excellent results with a bit of patience.
Air Drying
Air drying works well in dry, warm climates and is suitable for sturdier fruits like apples and pears.
- Carefully wash your fruit and slice it into thin pieces. The thinner the slices, the shorter the drying time.
- Thread the slices onto a string using a needle, ensuring the pieces do not touch each other. Alternatively, lay the pieces on a drying rack without overlap.
- Hang the string or place the rack in a dry, well-ventilated area away from direct sunlight. Cover with a fine mesh or cheesecloth to protect from insects and dust.
- Leave to dry for several days, checking daily until the fruit has reached your desired dryness level.
Sun Drying
Sun drying can be an effective method for those living in very hot and dry climates, though it does require a consistently hot and sunny forecast.
- Prepare your fruit by washing it and cutting it into thin slices.
- Lay the fruit slices on a clean surface like a tray or stainless steel baking sheet. Avoid aluminum as it can react with your food.
- Cover with fine mesh or cheesecloth to protect from pesky bugs and debris.
- Place your fruit in a sunny, well-ventilated location where it will receive at least six hours of direct sunlight.
- Depending on the weather and the type of fruit, it could take 1-2 days or up to a week for the fruit to dry out.
Microwave Drying
This method works best for small batches of fruit in a hurry. However, other methods might not provide the same chewy texture.
- Rinse your selected fruit and slice it into thin slices.
- Arrange these slices in a single layer on a microwave-safe dish lined with parchment paper.
- Use defrost or a power level of around 30-50% (to prevent overheating), and microwave the fruit in short increments of 2-5 minutes (depending on the fruit type). Turn the slices over periodically.
- Continue this process until the fruit looks dried and shrunken. Be careful not to burn the slices.
Regardless of the chosen method, store dried fruit in a cool, dark place in airtight containers. Also, keeping a close eye on the fruit is important to avoid mold growth due to excess moisture.
Dehydrating in oven vs dehydrator
When dehydrating food, two common methods are using an oven or a food dehydrator.
Both processes work similarly – they remove water from food by circulating warm air around it. However, they also significantly differ primarily in efficiency, temperature control, space usage, and cost.
Oven Dehydration
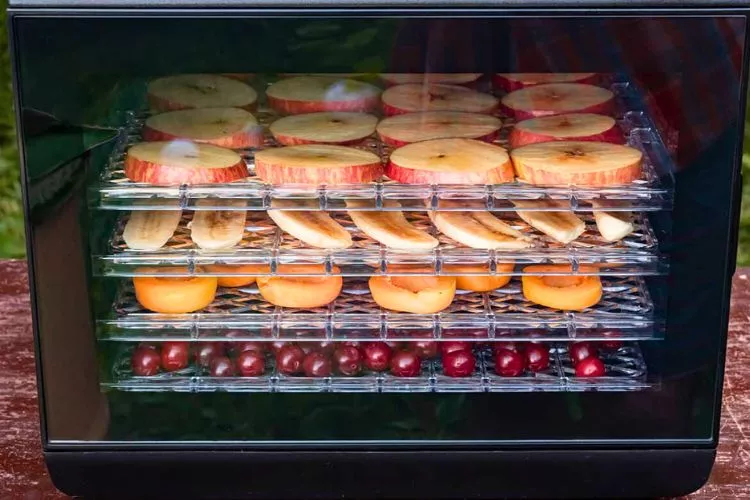
Advantages
- No Additional Equipment: Most households already have an oven, eliminating the need for an additional appliance.
- Diverse Use: Ovens are capable of much more than dehydration, giving them an advantage in versatility.
Disadvantages
- Temperature Control: Ovens often can’t maintain the low temperatures required for proper dehydration, leading to uneven or sub-optimal results. Also, most ovens don’t have an in-built fan, reducing airflow and potentially leading to longer drying times.
- Space and Energy Usage: An oven is generally larger than a dehydrator. If you’re only dehydrating small amounts of food, the oven may use more energy than necessary.
- Monitoring: Oven dehydration often requires more attention, including periodically checking the food to prevent over-drying or burning and propping the oven door open for ventilation.
Food Dehydrator
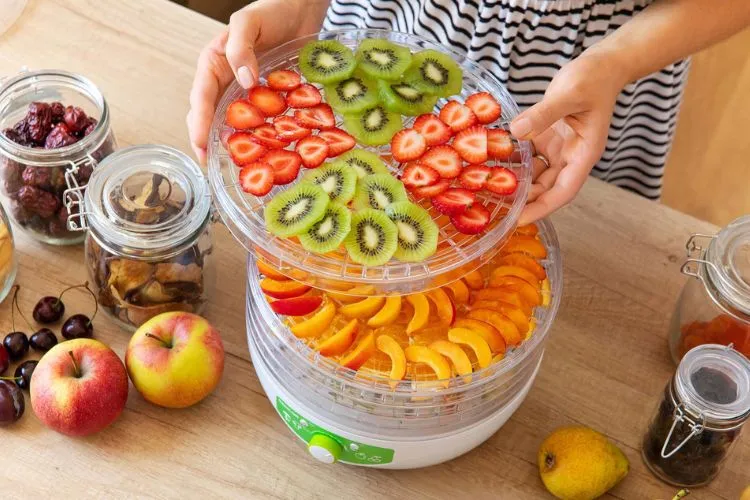
Advantages
- Temperature and Airflow Control: Dehydrators have accurate temperature controls and built-in fans for optimal airflow, ensuring even and efficient dehydration.
- Space Management: They are compact and designed with multiple stackable trays, allowing different foods to be dehydrated simultaneously without mixing flavors.
- Energy Efficiency: Dehydrators use less energy than ovens when dehydrating the same amount of food.
- Low Monitoring: Once set up, dehydrators require minimal supervision.
Disadvantages
- Cost: A good quality dehydrator might represent an initial expense greater than using an oven you already own.
- Single-Purpose Appliance: Dehydrators are designed exclusively for dehydrating and have no other culinary application.
In conclusion, food dehydrators tend to be more efficient and easier to use for dehydration, but ovens can also be used effectively with careful supervision and strategic techniques. Your choice will largely depend on how frequently you dehydrate food, your budget, and your available space.
frequently asked questions (FAQs)
Can you dehydrate in a microwave?
Answer: You can dehydrate in a microwave, particularly for smaller batches. Arrange thinly sliced food on a microwave-safe plate lined with parchment paper. Use a defrost or low setting to slowly dehydrate the food, turning the slices periodically to ensure even drying.
Can I use my air fryer as a dehydrator?
Answer: Yes, some air fryers have a built-in dehydrate function. Please check your air fryer’s manual to ensure it has this feature and how to use it properly.
What temperature do you dehydrate in the oven?
Answer: Dehydrating in an oven is typically done at its lowest setting, usually between 130 to 150 degrees Fahrenheit. This low heat helps to remove moisture without cooking the food.
Is an air fryer better than a dehydrator?
Answer: Both appliances have their merits. An air fryer is more versatile but may not dehydrate as evenly as a dedicated dehydrator. A dehydrator tends to provide consistent results for dehydration purposes but lacks other cooking functionalities.
Do you leave the oven door open when dehydrating?
Answer: You should leave the oven door slightly ajar when dehydrating. This allows moisture to escape, promoting better dehydration and preventing the food from cooking.
Conclusion:
While toaster ovens may not be the first choice for food dehydration, they can be feasible alternatives to dedicated dehydrators, particularly for occasional or smaller quantities.
With careful temperature setting, appropriate preparation, and vigilant monitoring, toaster ovens can deliver satisfying results by removing moisture from food and extending its shelf life.
However, investing in a dedicated dehydrator would be the optimal choice for consistent, effortless results, especially when dehydrating food frequently or in large batches.


