It’s a common household enigma – water mysteriously pooling under the sink but there’s no apparent leak.
If your kitchen or bathroom has become a puzzle with such an issue of water under sink but no leak, you’re not alone.
This article aims to shed light on this perplexing issue and empower homeowners with knowledge to troubleshoot and potentially resolve the problem independently.

In doing so, we go in-depth to cover:
- Frequent contributors to this problem,
- Steps for identifying the hidden sources of the leak,
- Effective strategies to remedy the situation,
- and How to prevent recurrence in the future.
By the end of this read, you’ll find yourself equipped with an understanding of the possible causes of water accumulation under your sink, without a discernible leak and knowledgeable strategies to address them effectively.
Let’s dive in and demystify this domestic anomaly once and for all.
Quick Recommendations
Last update on 2025-07-31 / Affiliate links / Images from Amazon Product Advertising API
Water under sink but no leak: 9 Causes
To fully understand what could be causing water to pool under your sink without any visible leaks, it’s important to get acquainted with two common culprits: improperly fastened nuts and deteriorated washers.
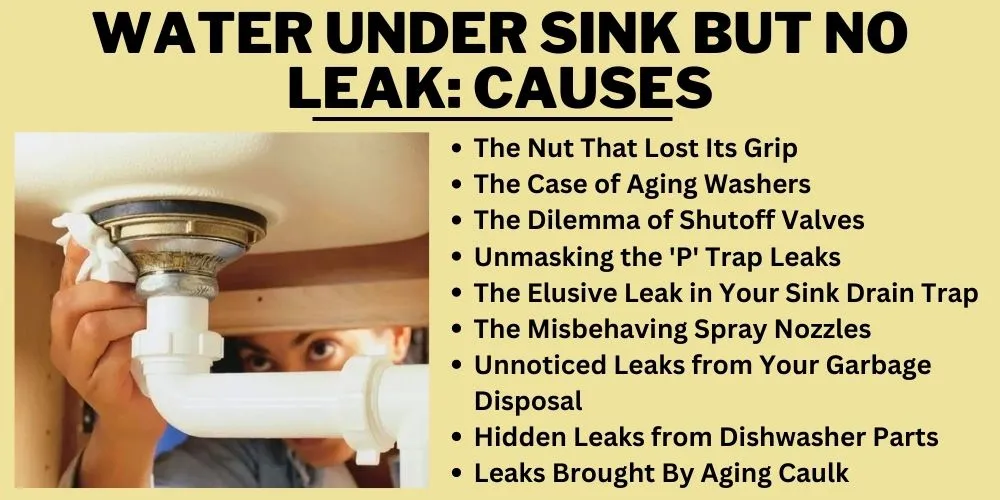
The Nut That Lost Its Grip
Often, the devil is in the details, or this case, the loose nuts. These tiny items hold the various components of your plumbing system together. When they loosen, water can seep out even without a noticeable leak.
- Identifying Loose Nuts: Look for water lingering around the base of the nut. If it’s loose, you’ll probably see some moisture around it.
- Rectifying Loose Nuts: The fix is usually as easy as tightening the nut. Just be careful not to overtighten as this can damage the threads and create another leakage point.
The Case of Aging Washers
Another common reason water finds its way into places it shouldn’t is worn-out washers. These circular devices create water-tight seals between different parts of your plumbing.
- Unmasking Worn-Out Washers: Identifying worn-out washers is slightly trickier because they’re often hidden within the faucet or valve assembly. However, if you’ve ruled out all other potential sources and the problem persists, it’s likely a worn-out washer causing the trouble.
- A Solution for Worn-Out Washers: Replacing a worn-out washer is a bit more involved, but still manageable. First, identify the appropriate washer type and size that matches your sink’s specifications. Once you have the correct washer, dismantle the faucet or valve where the washer resides, replace the worn-out washer with the new one, and reassemble.
The Dilemma of Shutoff Valves
A key element in your plumbing system, the shutoff valves control the water flow in your pipes. These valves can become leakage points when there’s a malfunction.
- How to Spot a Problem with Shutoff Valves: If you observe moisture accumulating near your shutoff valves, they could be the reason behind the water under the sink. To confirm, dry off the valve junction and observe it over a few hours to see if the moisture reappears.
- Fixing a Shutoff Valve Problem: If faulty shutoff valves are indeed the problem, you could attempt tightening these valves. However, if that doesn’t solve the issue, you might need to replace them altogether, which may require assistance from a professional plumber.
Unmasking the ‘P’ Trap Leaks
Named for their shape, ‘P’ traps are curved pipe sections under your sink designed to keep sewer gases from exiting the drain into your home. Unfortunately, they can also be a source of leaks.
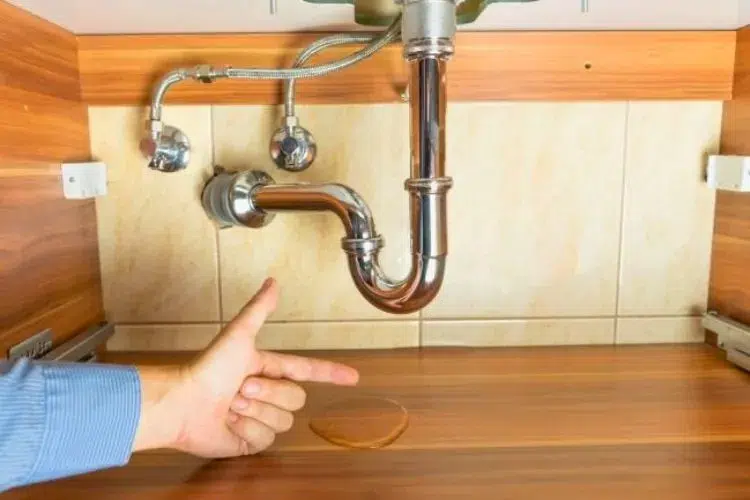
- Identifying a Leaking ‘P’ Trap: If there’s water near the ‘P’ trap but can’t trace any leaks, the issue might be there. To confirm, clean the surrounding area and check later for moisture.
- Addressing the Leaking ‘P’ Trap: Resolving trap leaks may be as simple as tightening the nuts that secure the trap. If this
The Elusive Leak in Your Sink Drain Trap
Underneath your sink is the drain trap, easily identified by its U-shape. While its main function is blocking sewer gases from re-entering your home, it can become problematic if it leaks.
- Detecting Sink Drain Trap Leaks: Finding a leak can be tricky, but not impossible. Begin by cleaning and drying the area around the drain trap. A dry surface makes moisture re-appearance easier to spot.
- Resolving Sink Drain Trap Leaks: Should your drain trap be leaking, you can often remedy the situation by simply tightening the nuts. If the trap still leaks, a replacement is usually the next best step which may require a bit of DIY plumbing or requesting a professional’s help.
The Misbehaving Spray Nozzles
Typically installed along with the kitchen faucet, spray nozzles are heralded for their convenience but could also be the source of your water woes.
- Unraveling Spray Nozzle Leaks: Identifying a leak from the spray nozzle is straightforward. If you spot water traces leading from the nozzle when it’s not in use it could be your trouble-maker.
- Mending Leaking Spray Nozzles: The leak might be due to loose connections or installments you can easily rectify by tightening. If that doesn’t stop the leak, you may need to replace the spray nozzle.
Unnoticed Leaks from Your Garbage Disposal
Your garbage disposal might be more than just a handy kitchen tool – it can also be the source of unseen leaks.
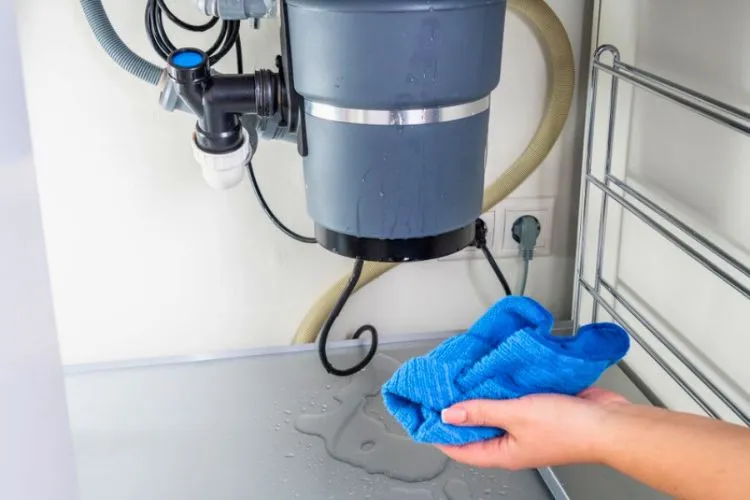
- Identifying Garbage Disposal Leaks: To identify a leak coming from your garbage disposal, first, clean and dry the area around it. After a while, check for any moisture near the base and sides of the disposal.
- Managing Leaks from the Garbage Disposal: If your garbage disposal leaks, the solution might be as simple as tightening the bolts or sealing ring. However, if the unit is cracked or damaged, you must consider a replacement.
Hidden Leaks from Dishwasher Parts
Ordinary dishwasher usage can sometimes lead to leaks under your sink.
- Spotting Dishwasher Leaks: Check for water trails leading from the dishwasher or pooling under the sink after it runs. If you spot such signs, the cause could be a leaking dishwasher part.
- Addressing Dishwasher Part Leaks: Replacement usually solves issues concerning dishwasher leaks. Check the pipes, tubes, or the machine door for any damages. If you find faulty parts, consider contacting a qualified technician for replacements.
Leaks Brought By Aging Caulk
Caulk, used for sealing joints and seams, can grow old, brittle, and ineffective, leading to leaks.
- Detecting Leaks Due to Old Caulk: To identify if this is the source of your problem, check around the sink for areas where the caulk has deteriorated or cracked. You can usually see (or feel) these defects upon close inspection.
- Rectifying Leaks from Old Caulk: Fixing this involves removing the old caulk and applying a fresh layer. Ensure that the area is thoroughly clean and dry before you reapply.
How often should I conduct maintenance checks under the sink?
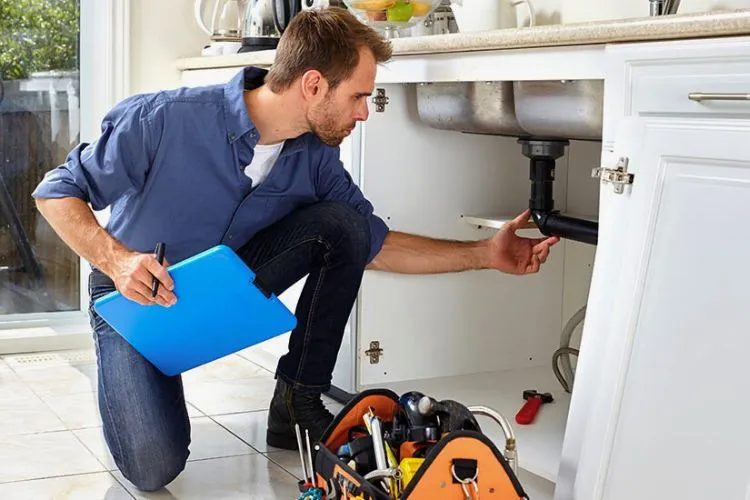
To ensure that the area under your sink stays well-maintained and free from potential issues, it is recommended to conduct maintenance checks:
- Monthly: Quick visual inspection
- Check for leaks or water damage
- Ensure no items are blocking the pipes or causing damage
- Verify the functionality of the water supply and drain valves
- Every 6 months: In-depth inspection
- Inspect and clean the P-trap
- Examine the supply hoses for wear, damage, or corrosion
- Tighten any loose fittings or connections
- Check for mold, mildew, or rust and treat as necessary
- Evaluate the functioning of the garbage disposal (if applicable) and clean it
- Annually: Preventative maintenance
- Replace worn or damaged parts
- Seal any gaps or cracks to prevent pests, and also to control moisture
- Schedule a professional inspection if you notice persistent issues or are unsure of how to properly address a problem
How do you tell if you have a hidden water leak?
Detecting hidden water leaks can save homeowners money, reduce property damage, and prevent mold growth. This guide will explain various ways to identify hidden water leaks in your home.
- Examine Your Water Bill: A sudden increase in your water bill without a reasonable explanation could indicate a hidden water leak. Compare your current and previous bills to determine if your water usage has spiked unexpectedly.
- Monitor Your Water Meter: To verify if there’s a hidden leak, you can:
- Turn off all water-using appliances and fixtures in your home.
- Record the reading on the water meter.
- Wait at least 1 or 2 hours without using any water.
- Check the water meter again. If the reading has changed, there may be a leak.
- Inspect Walls and Ceilings: Unusual stains, discoloration, or sagging areas on walls and ceilings can indicate a hidden water leak. Examine your walls and ceilings for symptoms of water damage.
- Check Flooring: If your floor is beginning to warp, buckle, or develop inexplicable dark spots, this could indicate a hidden water leak below the surface. Pay special attention to areas near sinks, toilets, and bathtubs.
- Listen for Dripping Sounds: In quiet conditions, you may hear water dripping or running if there is a hidden leak. Listen carefully near walls and pipes, particularly in hidden areas like crawl spaces, basements, and behind kitchen cabinets.
- Look for Mold and Mildew: Mold and mildew thrive in damp conditions and can indicate a hidden water leak. Be on the lookout for unusual odors, mold, and mildew in your home.
- Test Your Toilet: A faulty flapper valve or a leak in your toilet tank can cause a hidden water leak. To test for a toilet leak:
- Add several drops of food coloring to the toilet tank.
- Wait approximately 30 minutes without flushing.
- If the colored water has seeped into the toilet bowl, there is a leak.
- Inspect Your Garden and Landscaping: Unexplained soggy or damp areas in your garden or landscaping may signal an underground leak in water or irrigation lines.
- Monitor Your Water Pressure: Fluctuating or sudden decrease can indicate a hidden water leak in your home. Have your water pressure tested to determine if it’s within the normal range.
- Conduct a Professional Inspection: If you suspect a hidden water leak but cannot locate its source, consider hiring a professional plumber specializing in leak detection. They have advanced tools and expertise to identify and resolve hidden water leaks accurately.
How do I find a silent water leak?
Silent water leaks can increase water bills and property damage if left undetected. Here are some steps you can take to find a silent water leak:
- Check your water meter: Turn off all faucets and water-using appliances, then note the current reading on your water meter. Wait for 1 to 2 hours without using water. If the meter reading changes during that time, it may indicate a leak.
- Examine your water bill: Compare your recent and past bills to identify any sudden increase in water usage, which could indicate a leak.
- Inspect walls, ceilings, and flooring: Look for water stains, discoloration, sagging, or warping in walls, ceilings, and floors, which can signal a hidden leak.
- Look for mold and mildew: Check areas around pipes and fixtures for mold or mildew growth, as these might indicate a leak in a humid environment.
- Monitor your water pressure: Inconsistent or sudden decrease could indicate a leak. If you suspect a pressure problem, consult a plumber to verify if it’s related to a leak.
- Test your toilet: Add a few drops of food coloring to your toilet tank and wait 30 minutes without flushing. If the colored water appears in the bowl, there’s a leak in the toilet’s flapper valve or tank.
- Inspect your garden and landscaping: Look for unusually soggy or damp areas in your yard, indicating an underground leak in water or irrigation lines.
- Check for foundation cracks: If cracks in your home’s foundation may signify a possible leak in the surrounding water lines.
- Use infrared thermography: Infrared cameras can detect temperature differences caused by moisture accumulation in walls or floors, which can help identify hidden water leaks.
- Hire a professional plumber: If you cannot locate a silent water leak, consult a professional plumber specializing in leak detection. They can use advanced tools and techniques to find and repair hidden leaks.
What is the most common leak under the kitchen sink?
The most common leak under a kitchen sink is often found at the drain and the water supply connections.
- Sink Drain Leaks: The P-trap (the curved pipe) and related connections are common places for leaks. This could be due to worn-out washers or seals, loose connections, or cracks in the pipes. Sometimes, the drain assembly itself may leak, especially around the filter where it enters the drainpipe.
- Water Supply Connection Leaks: The water supply lines that serve your sink’s faucet may leak if their connections become loose or the hoses are damaged. The shut-off valves can also become a source of leaks, typically due to wear and tear or loose packing nuts.
What tool will help identify leaks underneath a sink?
Identifying leaks underneath a sink can be as simple as using household items or may require more specialized tools. Here’s a detailed list of the tools that can assist you:
- Flashlight: A good flashlight is beneficial for inspecting hard-to-see areas beneath your sink. It can help spot any water droplets or damp areas that indicate a leak.
- Buckets or Pans: Placing a bucket or pan under the sink can help identify where water is dripping from.
- Cloth or Paper Towels: Running a dry cloth or paper towel along the pipes and joints can help detect small leaks. If the towel comes away wet, a leak is present.
- Plumber’s Tape: This tape can be applied to threads of pipe connections to help seal them and prevent leaks.
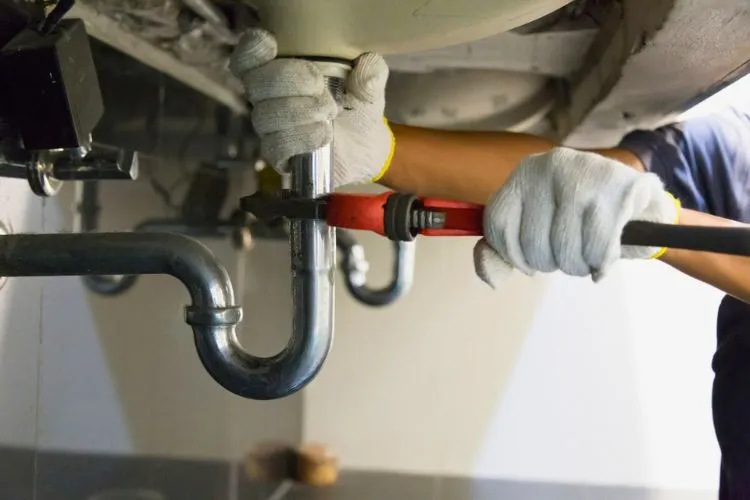
- Adjustable Wrench or Pliers: Sometimes, leaks result from loose pipe connections that can be tightened with an adjustable wrench or pliers.
- Pipe Dope or Joint Compound: Pipe dope or joint compound creates a watertight seal on threaded pipe joints where plumber’s tape might not suit.
- Pipe Cutter: If a leak is caused by a broken or corroded section of pipe, a pipe cutter can remove the damaged section.
- Listening Devices or Acoustic Leak Detectors: While not commonly used for household leaks, these devices can assist professionals in detecting leaks in difficult-to-access areas.
How do I stop a slow leak under my sink?
If there is a slow leak under your sink, here are the following steps you can take to fix it:
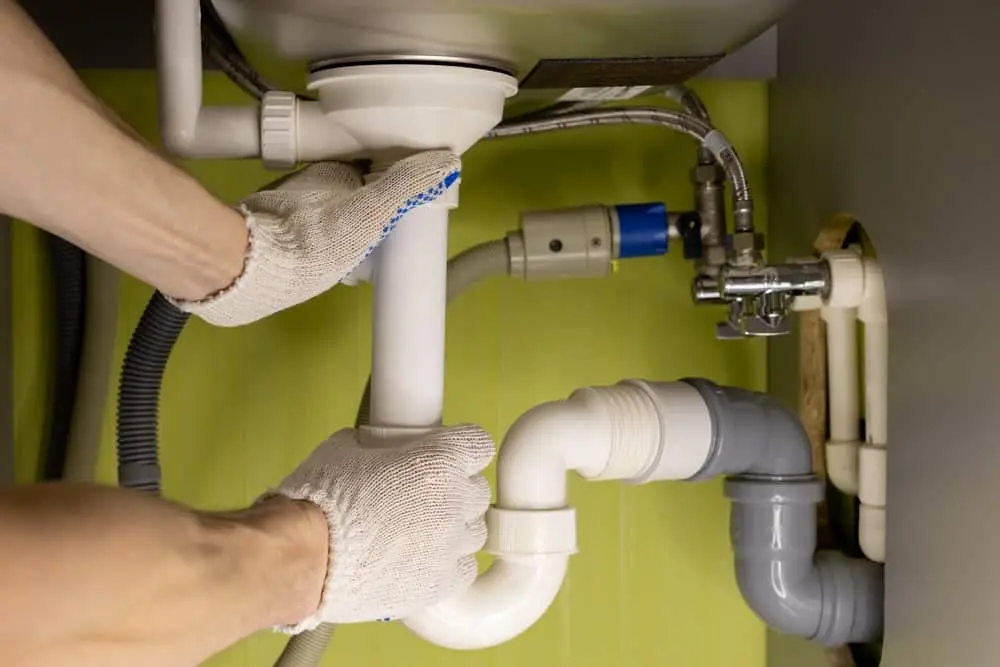
- Identify the Source of the Leak: First, you need to identify where the leak comes from. It may come from the sink drain, the faucet, or the water supply lines. Use a dry cloth or tissue to wipe the pipes and watch for any spot that gets wet, which will indicate where the leak is.
- Tighten Pipe Connections: If the leak comes from a pipe connection, try tightening it using a wrench or pliers. Be careful not to overtighten as this could damage the pipes or fittings.
- Replace Washers or Seals: If the leak comes from a sink drain, it may be due to a worn-out washer or seal. Disassemble the pipe, remove the old washer or seal, and replace it with a new one.
- Replace Leaky Supply Line: If the leak is from a water-supply line, you may need to completely replace the line. Turn off the water supply, remove the defective line using a wrench, and install a new one, ensuring all connections are tight.
- Apply Plumber’s Tape or Pipe Dope: You can also apply plumber’s tape (for threaded connections) or pipe dope to help create a watertight seal and stop small leaks.
- Replace Damaged Pipe or Fitting: If a pipe or fitting is damaged or corroded, you must replace that section. Cut out the damaged section using a pipe cutter, and replace it with a new one, ensuring all connections are secure.
How can I differentiate between condensation and an actual leak?
While condensation and water leaks can lead to moisture build-up, they are caused by different scenarios and require different remedies. Here’s a super detailed breakdown of ways to differentiate between them:
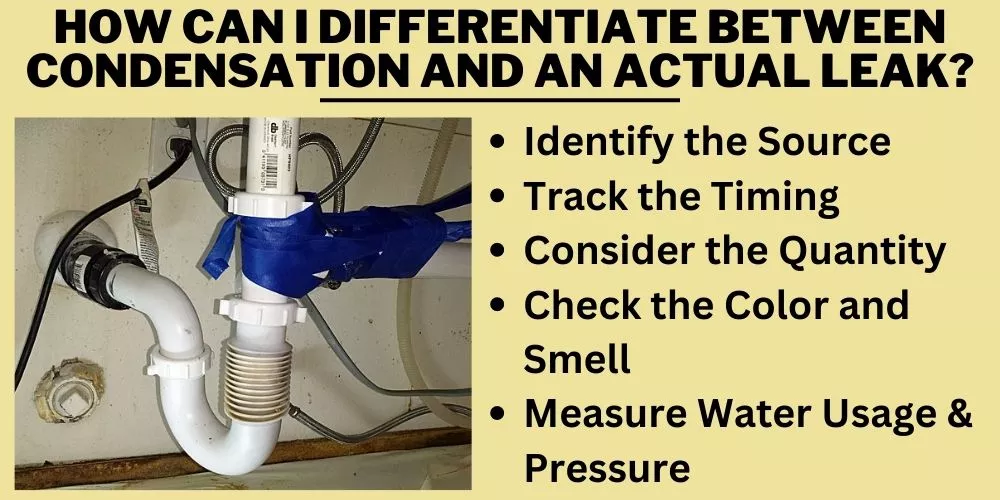
Identify the Source
- Leaks: Leaks are usually localized around specific areas: near the pipes, valves, faucets, and pipe joints in your plumbing system. By visually inspecting or lightly drying the area with a cloth or tissue paper, you can typically spot where the water is consistently appearing.
- Condensation: Condensation tends to be more widespread, appearing on the exterior of pipes and not exclusively around fittings or joints. Condensation occurs when warm, moist air comes into contact with cool surfaces, causing water droplets to form. You’re more likely to see condensation on pipes during hotter, humid weather.
Track the Timing
- Leaks: If the moisture persists all day or increases when using plumbing fixtures, the cause is likely a leak.
- Condensation: If the moisture appears mostly during or after using hot water or during periods of high humidity, and disappears after the pipe warms up or the weather turns less humid, it’s probably condensation.
Consider the Quantity
- Leaks: A leak usually produces a steady amount of water that may pool beneath the area of the leak. Depending on the severity, leaks can produce anything from small, steady drips to a substantial stream of water.
- Condensation: Generally, condensation produces small, fine water droplets that dampen the surface of a pipe but may not necessarily produce an active drip or pooling water.
Check the Color and Smell
- Leaks: If the moisture is discolored or has an odd smell, it might be a leak. Leaking water can sometimes bring rust or coloring from pipelines and may smell strange due to pipe contaminants.
- Condensation: Condensation will generally be clear and have no significant smell as it’s just water formed from the air.
Measure Water Usage & Pressure
- Leaks: An unexplained increase in water usage or decrease in water pressure might signal an unnoticed leak.
- Condensation: Condensation would not cause an increase in your water usage or affect your water pressure.
Conclusion:
In conclusion, finding water under your sink can cause concern, but it doesn’t always indicate a leak. Occurrences like condensation, air humidity, or spilling water can create moisture under the sink.
Identifying the cause by assessing the water’s source, timing, and appearance is essential, as different actions are required to handle leaks and condensation.
Promptly addressing the issue prevents potential water damages and ensures your plumbing system remains in optimal condition.


