A leaking kitchen faucet can be both an annoyance and a waste of water. If you’re experiencing a leak from your Moen kitchen faucet, it’s crucial to address the issue promptly to avoid further damage and skyrocketing utility bills.
So why is your Moen kitchen faucet leaking?
This article serves as a comprehensive guide to understanding the common causes of leaking Moen kitchen faucets and provides practical solutions for troubleshooting and repairing them.
Moen Kitchen Faucet Leaking: Understanding The Types of Leaks
Leaking Around the Base
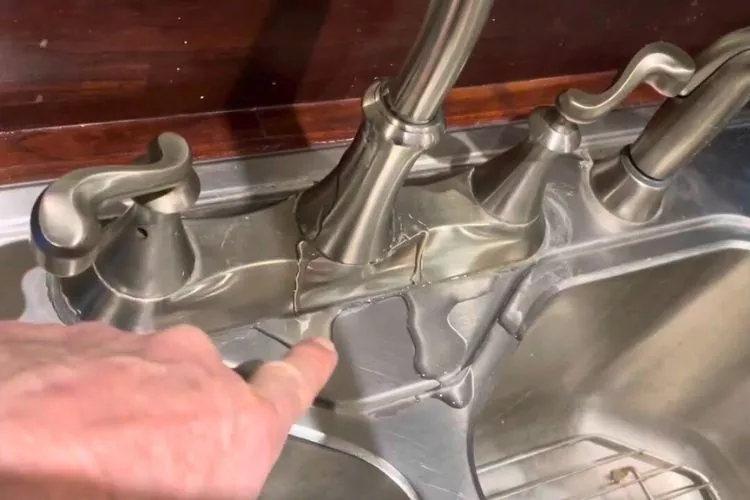
One of the most common types of leaks in Moen kitchen faucets occurs around the base. This can be caused by loose or worn O-rings, damaged cartridges, or faulty connections.
To troubleshoot this type of leak, start by turning off the water supply and examining the area around the base for any obvious signs of damage or loose connections.
If you find a loose connection, tighten it using a wrench, but be careful not to over-tighten, as this can cause further damage.
If the O-rings are worn, you may need to replace them. Similarly, if the cartridge is damaged or worn out, it will need to be replaced to resolve the leak.
Leaking from the Spout
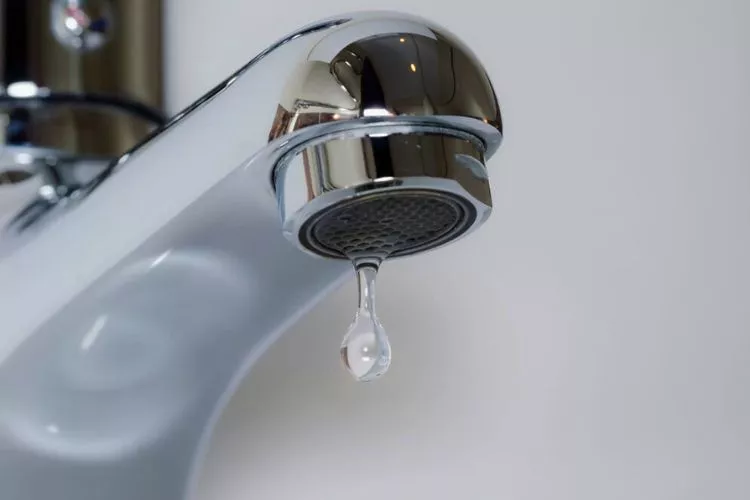
Another common type of leak occurs when water drips from the spout even when the faucet is turned off. This can be caused by worn-out cartridges or seals, loose connections, or high water pressure.
To troubleshoot this issue, you can start by checking for loose connections and tightening them if necessary.
If the connections are secure, the cartridge or seals may be the problem. Remove the cartridge and inspect it for any signs of wear or damage.
If necessary, replace the cartridge and seals to stop the leak. Additionally, if the water pressure is unusually high, you may need to install a pressure regulator to prevent future leaks.
Other Leaks and Issues
Apart from leaks around the base and spout, Moen kitchen faucets can experience leaks at the handle, neck, or swivel.
To troubleshoot a leaking handle, you’ll typically need to disassemble the faucet to access the cartridge. Inspect the cartridge for any signs of wear or damage and replace it if necessary.
Leaks at the neck or swivel could stem from loose connections or damaged seals, which can be resolved by tightening connections or replacing seals.
Repairing a Leaking Moen Kitchen Faucet
Repairing a leaking Moen kitchen faucet involves a few key steps. Start by gathering the necessary tools and materials, which may include an adjustable wrench, screwdriver, replacement parts (such as O-rings or cartridges), plumber’s tape, and lubricant.
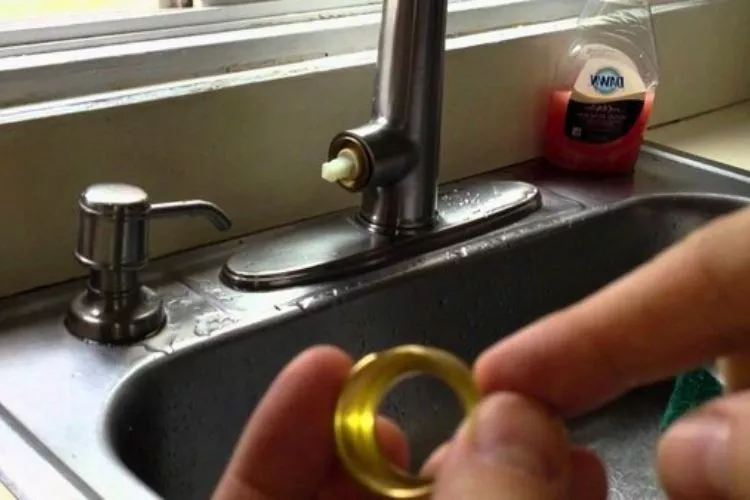
For a base leak, turn off the water supply, disassemble the faucet, inspect the O-rings and cartridges, replace them if needed, and reassemble the faucet.
If the spout is leaking, follow similar steps, focusing on checking and potentially replacing the cartridge and seals. Always refer to the manufacturer’s instructions or consult a professional if needed.
Preventing Leaks in Moen Kitchen Faucets
Regular Cleaning and Care
- Wipe Down Regularly: Make it a habit to wipe down your Moen kitchen faucet regularly with a soft cloth. This will help remove any build-up of mineral deposits, soap scum, or grime that can lead to wear and tear over time.
- Avoid Harsh Cleaners: When cleaning your faucet, avoid using abrasive or harsh chemical cleaners. These can damage the finish and potentially weaken the seals, leading to leaks. Instead, opt for mild soap and water or a specially formulated faucet cleaner.
Using Genuine Moen Replacement Parts
- Opt for Genuine Parts: When it comes to replacing any components of your Moen kitchen faucet, always choose genuine Moen replacement parts. These parts are designed specifically for Moen faucets and ensure the best possible fit and performance. Using generic or incompatible parts can compromise the integrity of your faucet, leading to leaks.
- Consult the Moen Website: Ensure you have the correct model number and consult the Moen website or contact their customer service for assistance in identifying and purchasing the right replacement parts for your specific faucet model.
Regular Inspection and Prompt Repairs
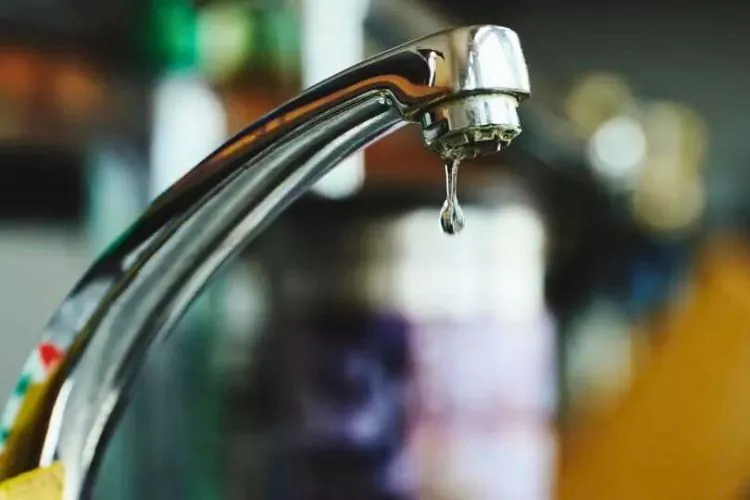
- Check for Drips: Regularly inspect your faucet for any signs of dripping or leaking. Even a small drip can indicate a potential issue that should be addressed promptly to prevent further damage or water wastage.
- Test Connections: Periodically check the connections of your Moen kitchen faucet for any signs of looseness. Use an adjustable wrench to tighten any loose connections gently. Avoid over-tightening, as this can damage the threads or fittings.
- Address Leaks Immediately: If you notice any leaks or signs of wear and tear, such as worn-out O-rings or cartridges, address them promptly. Ignoring leaks can lead to more severe damage and costly repairs down the line.
Preventing leaks in your Moen kitchen faucet requires regular maintenance and care. By following these guidelines and incorporating them into your routine, you can extend the lifespan of your faucet and avoid unnecessary leaks.
Remember to use genuine replacement parts, conduct regular inspections, and promptly address any leaks or signs of wear and tear to ensure your Moen kitchen faucet remains in optimal condition.
Frequently Asked Questions (FAQs)
How to fix a leaky Moen kitchen faucet with two handles?
To fix a leaky Moen kitchen faucet with two handles, start by turning off the water supply. Remove the handles and escutcheon plate to access the cartridges. Inspect the cartridges for wear or damage and replace them if needed. Reassemble the faucet and test for leaks.
How to fix a leaky Moen kitchen faucet with a single handle?
To fix a leaky Moen kitchen faucet with a single handle, first turn off the water supply. Remove the handle and escutcheon plate to access the cartridge. Inspect the cartridge for wear or damage and replace it if needed. Reassemble the faucet and check for leaks.
Why is my Moen kitchen faucet leaking at the base?
A Moen kitchen faucet may leak at the base due to loose or worn O-rings, damaged cartridges, or faulty connections. By inspecting and addressing these components, you can resolve the leak.
How to stop a Moen kitchen faucet from leaking?
To stop a Moen kitchen faucet from leaking, identify the source of the leak, whether it’s around the base, from the spout, or elsewhere. Disassemble the faucet, inspect the relevant components (such as O-rings or cartridges), and replace any damaged parts as needed. Reassemble the faucet and test for leaks.
Can I prevent leaks in Moen faucets through regular maintenance?
Yes, regular maintenance plays a crucial role in preventing leaks in Moen faucets. Simple cleaning and care routines, along with promptly addressing any signs of wear and tear, can help extend the lifespan of your faucet and prevent leaks.
Conclusion:
Addressing a leaking Moen kitchen faucet is essential to prevent unnecessary water wastage and potential damage to your kitchen. By understanding the common causes of leaks and following the step-by-step guide provided in this article, you can successfully troubleshoot and repair your faucet.
Regular maintenance and proper care will help prevent future leaks and ensure your Moen kitchen faucet remains in optimal condition for years to come.

