Is your garage door letting in more than just your car?
This is one of the most common issues that we garage owners face on a daily basis.
Today I am writing this guide to help you learn how to make garage door airtight with simple tools and techniques. I am sure that it will make all of your lives better.
Air leaks in garages can occur for various reasons, such as gaps between the door and the frame or worn-out weatherstripping.
These leaks make your garage less comfortable and force your heating and cooling system to work harder, leading to higher energy bills.
You’ll enjoy a more comfortable space by sealing your garage door while saving energy costs.
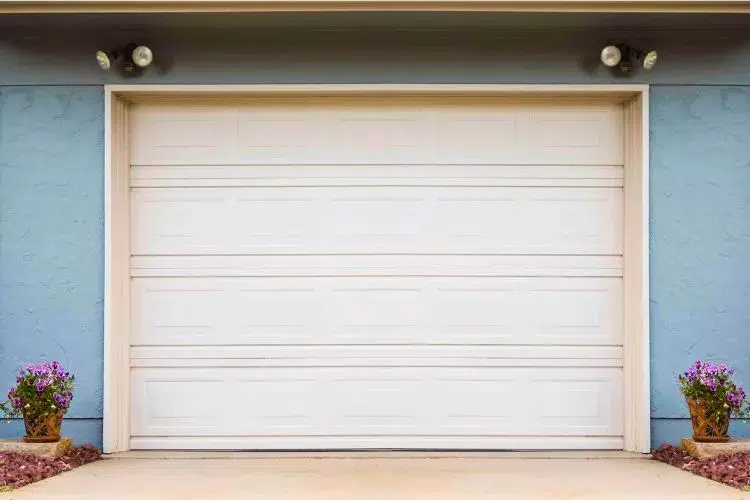
My goal in this article is to teach you how to make your garage door airtight, ensuring that your garage stays warm in the winter and cool in the summer.
How to make garage door airtight? (An Easy-To-Follow Guide)
Follow these simple steps to make a garage door airtight and enjoy a more comfortable, energy-efficient space.
Step 1: Assess the Current State of Your Garage Door
Inspect your garage door and identify gaps or areas where air leaks. Pay close attention to the bottom, sides, and top of the door, as these are the most common locations for air leaks.
Step 2: Choose the Right Weatherstripping Material
Select the appropriate weatherstripping material based on your garage door’s material, size, and location. Common options include rubber, vinyl, or silicone.
Make sure to choose a durable material that can withstand the elements in your area.
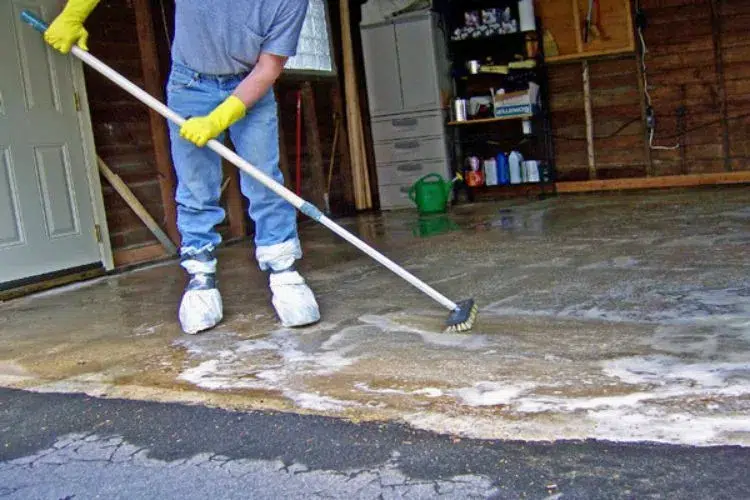
Step 3: Clean the Surfaces
Before applying the weatherstripping, clean the surfaces where it will be applied. This ensures maximum adhesion and a long-lasting seal. Use a cloth or sponge with mild soap and water to remove dirt or debris.
Step 4: Apply the Weatherstripping
Apply the weatherstripping to the garage door’s bottom, sides, and top. Depending on your chosen weatherstripping, you may need to use adhesive or nails to secure it.
Make sure to follow the manufacturer’s instructions for the best results.
Step 5: Test the Airtightness
Stand inside your garage with the door closed and look for light or air leaks. You can also use a candle or tissue paper to detect drafts. If you notice any leaks, proceed to the next step.
Step 6: Make Adjustments
If necessary, make adjustments to the weatherstripping to ensure a tight seal. This may involve trimming excess material, repositioning the weatherstripping, or adding additional layers for a better fit.
Different methods to make garage door airtight
There are several methods to make your garage door airtight, which can help keep out drafts, dust, and pests. Some of the most common methods include:
- Installing weatherstripping: Its involves adding or replacing the bottom door seal and weatherstripping on the stop molding along the sides and top of the door.
- Applying insulation tape: You can seal gaps between the door panels, making the door as airtight as possible.
- Using caulk or weather-resistant sealant: You can apply caulk or sealant to gaps and joints to create an airtight barrier.
- Adding foam insulation strips: These can be placed between the door panels to further improve air tightness.
- Replacing the garage door panel: In some cases, replacing the door panel with a new, well-insulated one may be necessary.
Remember that the effectiveness of these methods will depend on the type and material of your garage door and the specific conditions in your area.
How to seal garage door bottom?
To provide a more detailed guide on sealing the garage door bottom, follow these steps:
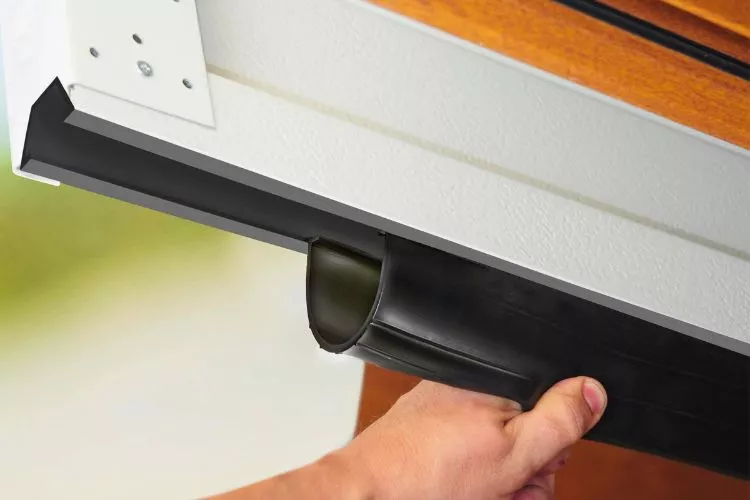
Step 1: Assess the current state of your garage door bottom seal
Inspect your garage door bottom seal to determine if it is damaged, worn out, or improperly installed. If these issues are present, it’s time to replace or repair the seal.
Step 2: Choose the appropriate type of garage door bottom seal
There are several types of garage door bottom seals available, including:
- T-style (T-end or T-bulb): This seal has a T-shaped rubber or vinyl part that slides into a track on the bottom of the door.
- J-style (Bead end): This seal has a round bead that fits into a J-shaped track on the bottom of the door.
- Bulb seals: These seals have a round or oval-shaped bulb that compresses against the ground when the door is closed, creating an airtight seal.
- Threshold seals: This are rubber or vinyl strips installed on the garage floor, providing a seal when the door closes on top of them.
Choose the type of seal that best suits your garage door and the specific conditions in your area.
Step 3: Measure and cut the new seal
Measure the width of your garage door and cut the new seal to the correct length, leaving about an extra inch on each side to ensure a proper fit.
Step 4: Remove the old garage door bottom seal
Lift the garage door to about six feet high. If your garage door has a track, carefully pull the old seal out through the gap behind the door track.
If your seal is attached directly to the door, remove any screws, nails, or adhesive holding the seal in place.
Step 5: Install the new garage door bottom seal
For T-style or J-style seals, slide the new seal into the track on the bottom of the door, starting from one end and working your way across.
If the seal is difficult to slide, apply soapy water or silicone spray to help it glide more easily.
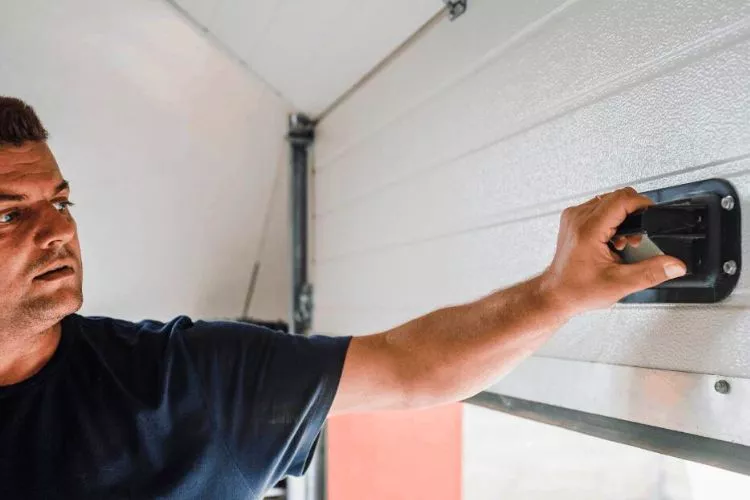
For bulb seals, attach the seal directly to the bottom of the door using screws, nails, or adhesive, depending on the manufacturer’s recommendations.
For threshold seals, clean the garage floor where the seal will be installed and apply a strong adhesive to the bottom of the seal. Position the seal on the floor, ensuring it is centered and straight, and press it firmly into place.
Step 6: Test the effectiveness of the new seal
Close the garage door and check for any gaps or air leaks along the bottom. Make any necessary adjustments to ensure a tight seal, such as trimming excess material or repositioning the seal.
Following these detailed steps, you can effectively seal the bottom of your garage door, keeping out drafts, dust, and pests.
Conclusion:
Making your garage door airtight is a crucial step in improving your garage space’s energy efficiency, comfort, and cleanliness.
Following the detailed steps outlined in this article, you can effectively seal the bottom, sides, and top of your garage door, keeping out drafts, dust, and pests.
Remember to choose the appropriate weatherstripping material, clean the surfaces before applying seals, and test the airtightness to ensure a successful outcome.


