A leak under the kitchen sink can be a homeowner’s nightmare, causing water damage and creating a breeding ground for mold and mildew.
Before panicking and reaching for the phone to call a plumber, take a deep breath and relax.
Learning how to fix a leak under the kitchen sink might be easier than you think! In this comprehensive guide, we will walk you through the steps to identify the source of the leak, gather the necessary tools, and, ultimately, fix the issue at hand.
Say goodbye to that pesky puddle and hello to a dry, functional kitchen sink.
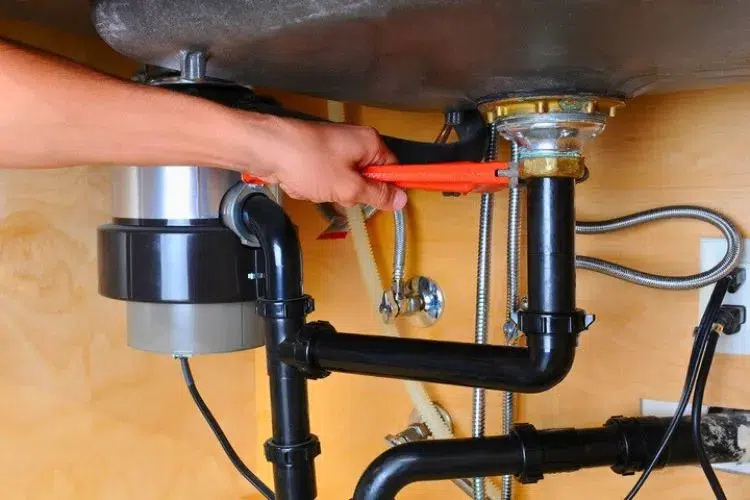
How to Find a leak under the kitchen sink?
Detecting the source of a leak under your kitchen sink can be tricky, but with a systematic approach, you can efficiently locate the problem and take the necessary steps to fix it.
This section will discuss various methods and tips to help you find the leak under your kitchen sink.
- Clear the Area and Dry the Cabinet: Before searching for the leak, remove all items from under the sink and thoroughly dry the cabinet. This will help you see the leak’s origin more clearly and prevent any damage to your belongings.
- Inspect the Sink and Faucet: First, check the sink and faucet for any visible signs of leakage. Turn on the faucet and observe if water is dripping from the base or the spout. Also, examine the sink bowl for any cracks or damage that might be causing the leak.
- Check the Drain Assembly: Next, inspect the drain assembly, which includes the sink strainer, tailpiece, and P-trap. Look for any loose connections, cracks, or corrosion causing the leak. You can use a flashlight to get a better view of the area.
- Examine the Supply Lines: The supply lines are the pipes that bring water to your faucet. Check the connections at the faucet and shut-off valves for any signs of leakage. Look for any kinks, damage, or loose connections in the supply lines.
- Use a Leak Detection Dye: If you’re still unable to locate the leak, you can use a leak detection dye to help identify the source. Add a few drops of the dye to the sink while the water runs, and observe where the colored water appears under the sink. This method can help you pinpoint the exact location of the leak.
- Test with Paper Towels or Tissue: Place paper towels or tissue under the sink, covering the entire area. Turn on the faucet and let the water run for a few minutes. Check the paper towels for any wet spots, which will indicate the leak’s location.
How to fix a leak under the kitchen sink? (easy guide)
Understanding the root causes of a leak under the kitchen sink is essential for finding the right solution.
This section will discuss common causes of leaks and their respective solutions, helping you address the issue effectively.
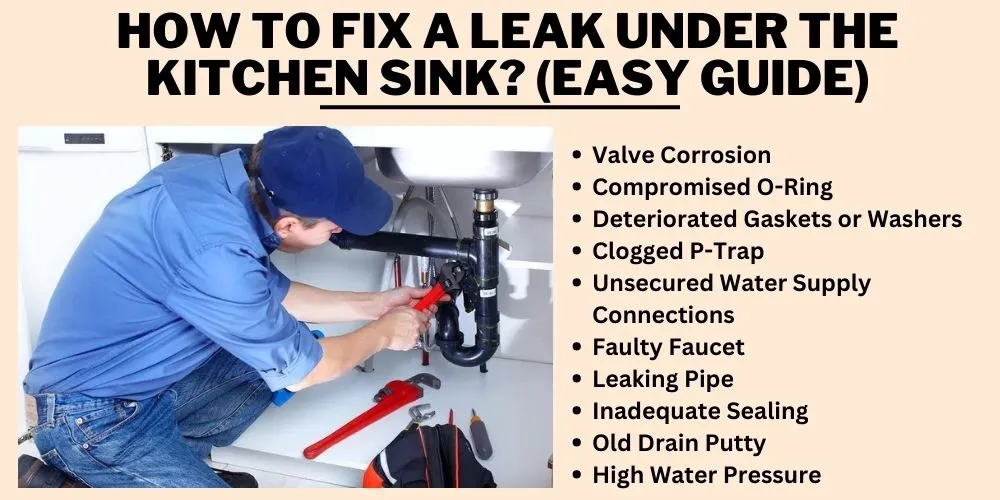
Valve Corrosion
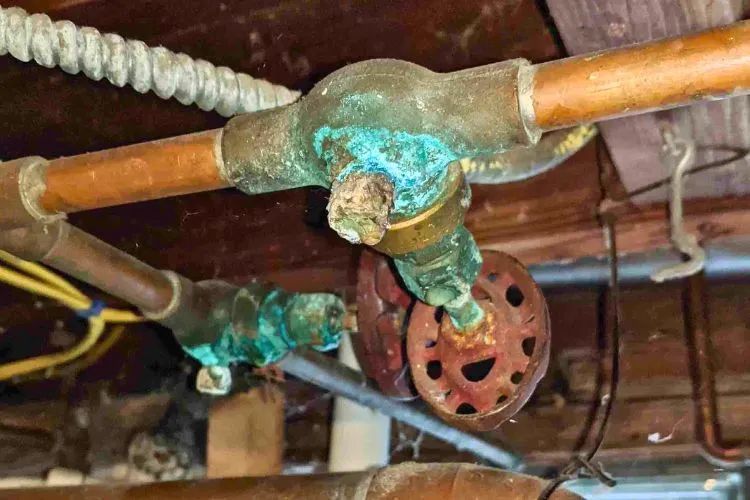
- Cause: Over time, the valves under the kitchen sink can become corroded due to constant exposure to water and moisture. This corrosion can lead to a weakened valve, eventually causing it to leak.
- Solution: If you find that a corroded valve is causing the leak, you must replace the valve. Turn off the water supply, remove the old valve, and install a new one. Make sure to tighten the connections properly to prevent any further leaks.
Compromised O-Ring
- Cause: The O-ring is a small rubber ring that helps seal the connection between the faucet and the sink. A damaged or worn-out O-ring can cause water to seep through the connection, resulting in a leak under the sink.
- Solution: To fix a leak caused by a compromised O-ring, you will need to replace the O-ring. Turn off the water supply, disassemble the faucet to access the O-ring, remove the old one, and install a new one. Reassemble the faucet and test for any leaks.
Deteriorated Gaskets or Washers
- Cause: Gaskets and washers are used in various sink and faucet assembly parts to create a watertight seal. Over time these components can wear out over time, leading to leaks under the sink.
- Solution: If deteriorated gaskets or washers are causing the leak, you must replace them. Identify the specific component that needs replacement, turn off the water supply, and remove the old gasket or washer. Install a new one, ensuring a tight fit, and test for leaks.
Clogged P-Trap
- Cause: The P-trap is the curved section of the drainpipe under the sink, designed to trap debris and prevent sewer gases from entering your home. A clogged P-trap can cause water to back up and leak under the sink.
- Solution: To resolve a leak caused by a clogged P-trap, you must clear the blockage. Place a bucket under the P-trap to catch any water, then remove the P-trap by loosening the connecting nuts. Clean out any debris or buildup, reattach the P-trap, and test for leaks.
Unsecured Water Supply Connections
- Cause: The water supply connections under the sink may become loose over time, which can lead to water leaks. These connections are found between the shut-off valves and the faucet.
- Solution: First, turn off the water supply to fix a leak caused by loose water supply connections. Then, check the connections between the shut-off valves and the faucet. Tighten any loose connections using an adjustable wrench, then test for leaks.
Faulty Faucet
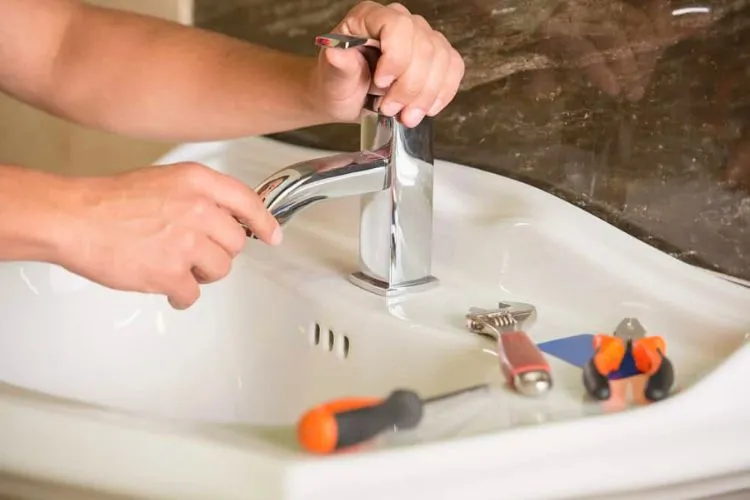
- Cause: A leaky faucet can be caused by various issues, such as worn-out components, damaged seals, or corroded parts.
- Solution: Repairing a leaky faucet may involve replacing damaged or worn-out components, such as the cartridge, stem, or seals. First, turn off the water supply and disassemble the faucet to identify the faulty part. Replace the damaged component, reassemble the faucet, and test for leaks.
Leaking Pipe
- Cause: A leaky pipe under the kitchen sink can result from various factors, such as corrosion, damage, or loose connections.
- Solution: Fixing a leaky pipe may involve replacing the damaged section of the pipe or tightening loose connections. First, turn off the water supply and locate the source of the leak. If the pipe is damaged, remove the damaged section and replace it with a new one. If the connections are loose, tighten them using an adjustable wrench, then test for leaks.
Inadequate Sealing
- Cause: Inadequate sealing around the sink and faucet can lead to water seeping through gaps and causing leaks under the sink.
- Solution: Ensuring proper sealing involves applying caulk or plumber’s putty around the sink and faucet to create a watertight seal. First, clean and dry the area where the sealant will be applied. Then, apply a bead of caulk or plumber’s putty around the sink and faucet, ensuring no gaps. Smooth the sealant with a wet finger or a caulk-smoothing tool, and allow it to cure according to the manufacturer’s instructions.
Old Drain Putty
Cause
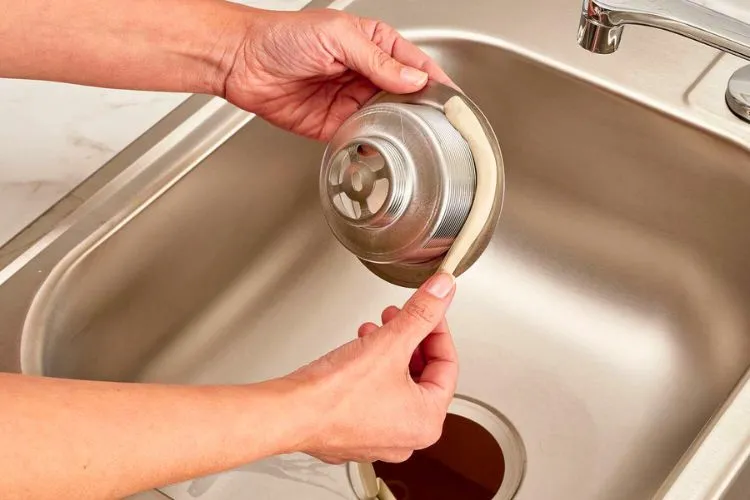
Over time, the putty used to seal the drain assembly in the kitchen sink can become dry and brittle. As a result, it loses its effectiveness in creating a watertight seal, leading to leaks around the drain area.
Solution
To fix the issue caused by old drain putty, you must replace it with a fresh application. Here are the steps to do this:
- Turn off the water supply to the sink.
- Remove the drain assembly by unscrewing the locknut underneath the sink.
- Clean the area around the drain hole to remove any remnants of old putty.
- Apply a generous amount of new plumber’s putty around the drain hole.
- Reinstall the drain assembly, ensuring a tight seal with the new putty.
- Tighten the locknut and wipe away any excess putty.
- Turn the water supply back on and check for any leaks.
High Water Pressure
Cause
Another common cause of leaks under the kitchen sink is high water pressure. Excessive pressure can strain the connections between pipes and fittings, leading to leaks in various locations under the sink.
Solution
To resolve the issue of high water pressure, you can take the following steps:
- Test the water pressure in your home using a water pressure gauge. The ideal pressure should be 40-60 psi (pounds per square inch).
- If the pressure is too high, consider installing a pressure-reducing valve (PRV) on the main water supply line. This will help regulate the pressure throughout your home and prevent leaks due to high pressure.
- Inspect the connections under the sink for any signs of wear or damage. Replace damaged parts and tighten loose connections to ensure a proper seal.
- Regularly monitor the water pressure in your home to ensure it remains within the recommended range.
Pipe under sink leaking at connection: what to do?
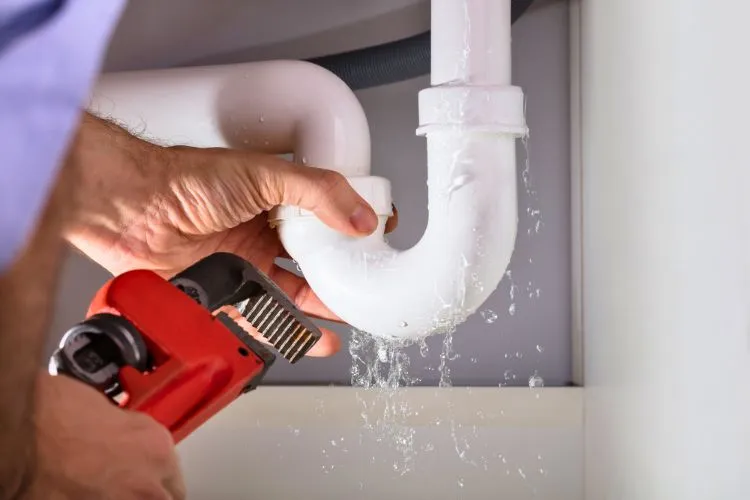
If the pipe under your sink leaks at the connection, it’s essential to address the issue promptly to prevent water damage and maintain a functional kitchen. Here are the steps you should take to fix the problem:
- Turn off the water supply: Before attempting any repairs, ensure that the water supply to the sink is turned off. This is usually done by turning the shut-off valve near the sink in a clockwise direction.
- Identify the source of the leak: Examine the connection where the leak occurs to determine if it’s a loose joint, damaged seal, or cracked pipe. This will help you decide on the appropriate course of action.
- Tighten the connection (if loose): If the leak is due to a loose connection, use a wrench or a pair of pliers to tighten the joint. Be careful not to overtighten, as this can cause damage to the pipe or fitting.
- Replace damaged seals or washers (if necessary): If a damaged seal or washer causes the leak, you must replace it. First, disassemble the connection by unscrewing the nut and removing the fitting. Replace the damaged seal or washer with a new one, then reassemble the connection and tighten the nut securely.
- Repair or replace cracked pipes (if necessary): If the leak is due to a cracked pipe, you may need to repair or replace the damaged section. You can use a pipe repair clamp or epoxy putty for small cracks. For larger cracks or more severe damage, it’s best to replace the affected section of pipe. In either case, you may want to consult a professional plumber for assistance.
- Check for additional leaks: After addressing the initial leak, inspect the other connections under the sink to ensure no additional leaks. If you find any, follow the same steps to fix them.
- Turn the water supply back on: Once the repairs are complete, turn the water supply back on by turning the shut-off valve counterclockwise. Check the connections for any signs of leaks and ensure that the issue has been resolved.
Kitchen sink leaking from drain gasket: What To Do?
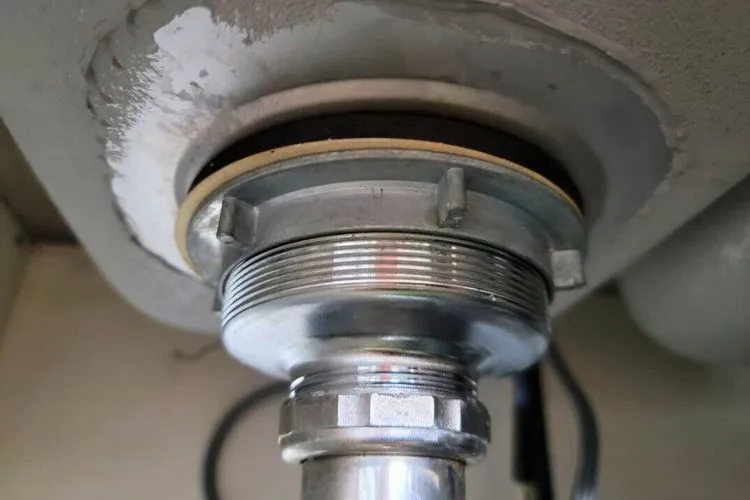
If your kitchen sink leaks from the drain gasket, it’s essential to address the issue promptly to prevent water damage and maintain a functional kitchen. Here’s what you can do:
- Turn off the water supply to the sink.
- Remove the sink filter by unscrewing the locknut underneath the sink.
- Clean the area around the drain hole to remove remnants of the old gasket.
- Replace the damaged gasket with a new one.
- Reinstall the sink strainer, ensuring a tight seal with the new gasket.
- Tighten the locknut and check for leaks after turning the water supply back on.
Frequently Asked Questions (FAQs)
What is the most common leak under the kitchen sink?
The most common leak under the kitchen sink is often found at the drain assembly or the P-trap. This can be caused by a loose connection, a damaged gasket, or deteriorated plumber’s putty. Regular inspection and maintenance can help prevent such leaks and keep your kitchen sink in good working condition.
What causes a kitchen faucet leaking under the sink?
Worn-out O-rings, cartridge, or supply line connections typically cause a kitchen faucet to leak under the sink. Over time these components can become damaged or loose over time, resulting in leaks. Replacing the faulty parts or tightening the connections can resolve the issue.
Why is there water under my sink, but can’t find a leak?
If there is water under your sink but no visible leak, it could be due to condensation on cold water pipes or a slow, intermittent leak that evaporates quickly. To find the source, dry the area and place a paper towel or newspaper underneath. Check regularly to see if any water appears, which can help pinpoint the leak’s location.
What tool will help identify leaks underneath a sink?
A moisture meter or a thermal infrared camera can help identify leaks underneath a sink. A moisture meter detects the presence of moisture in materials around the sink. At the same time, an infrared camera can visualize temperature differences, revealing areas where water may be present due to a leak. Both tools can aid in locating hidden leaks without dismantling your sink.
Conclusion:
Fixing a leak under the kitchen sink is essential for homeowners to prevent water damage and maintain a functional kitchen.
You can effectively identify and address the issue by understanding common causes of leaks, such as loose connections, damaged gaskets, and worn-out faucet components. Regular inspection, maintenance, and timely replacement of faulty parts can help prevent future leaks.
While many minor leaks can be resolved with DIY solutions, consulting a professional plumber for more complex issues or when in doubt is crucial.
By taking a proactive approach to leak prevention and repair, you can ensure the longevity and efficiency of your kitchen sink and plumbing system.


