Have you ever noticed how a steady stream of water from your kitchen faucet suddenly becomes irregular?
More often than not, an unclean kitchen faucet head is the culprit. Over time, faucet heads can clog up due to minerals, silt, or grime deposition.
Most cleaning strategies commonly involve vinegar, thanks to its acidic nature that works well against mineral deposits. But what if you’re out of vinegar or simply can’t stand its pungent smell?
Don’t worry! This article will provide efficient and easy-to-follow methods to help you learn how to clean kitchen faucet head without vinegar.
So roll up your sleeves and get ready to return your faucet to its former glory!
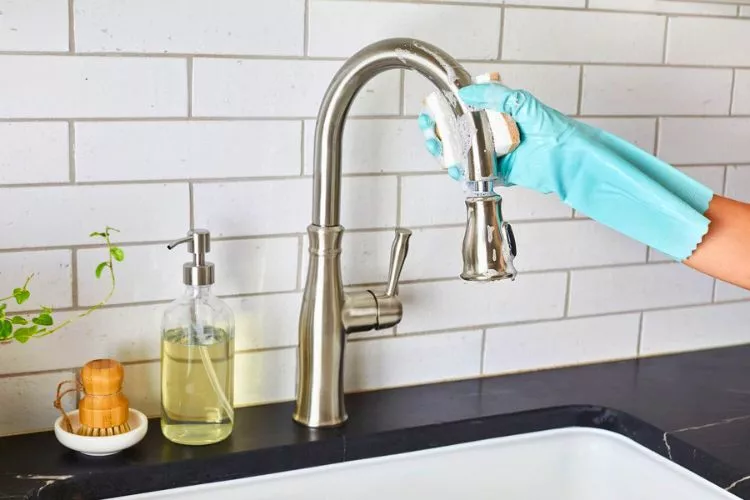
How do you clean kitchen faucet head without vinegar?
- Baking Soda and Water: Make a paste with baking soda and water, apply it to the faucet, leave for 15-20 minutes, then scrub the grime away.
- Lemon Juice: Citric acid from lemons is an efficient cleaner. Apply, leave for several minutes, then rinse.
- Dish Soap and Warm Water: An all-purpose cleaner good for light cleaning. Just make sure to scrub well and rinse thoroughly.
- Bathroom Cleaner: Handy for tougher grime. Always rinse well afterward to avoid any harsh residue.
- A Commercial Descaler: These are designed to combat limescale and mineral deposits.
Remember, always scrub gently to avoid scratching the surface, and rinse thoroughly to remove any leftover cleaning product.
How to Clean Your Kitchen Faucet Head with Baking Soda?
What You’ll Need:
- Baking soda
- Warm water
- A small bowl
- An old toothbrush
- Microfiber cloth
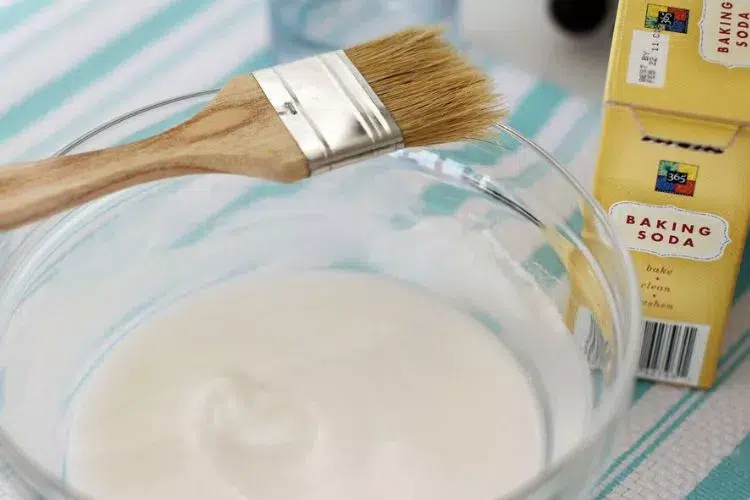
Step by Step Guide:
- Creating the Baking Soda Paste: First things first – let’s create our cleaning agent. Mix equal parts of baking soda and warm water in a bowl until you have a paste that’s thick enough to stick to your faucet head.
- Applying the Paste to the Faucet Head: Armed with your old toothbrush or cloth, apply the baking soda paste all over the faucet head. Make sure to get into all nooks and crannies to remove stubborn dirt.
- Letting the Paste Work its Magic: Leave the paste on the faucet head for about 15-20 minutes. The baking soda needs this time to break down the dirt, grime, and mineral deposits.
- Scrubbing Time: Here’s where the elbow grease comes in! After giving the paste enough time to soak in, gently scrub off the baking soda using the toothbrush or cloth advised earlier. Pay attention to the aerator (the small screen at the faucet spout) – it often catches most debris.
- Rinsing and Drying: Finally, rinse off the baking soda paste with warm water, ensuring there’s no residue left. Dry the faucet head using a microfiber cloth. This will prevent water spots and make your faucet shine!
And there you have it! A detailed, step-by-step guide on cleaning your kitchen faucet head with baking soda. Enjoy your sparkling clean faucet! Remember to repeat this process to maintain a clean and functional kitchen faucet.
How to Clean Your Kitchen Faucet Head With Lemons?
Lemons add zest to your food, and their natural acidity makes them powerful cleaning agents.
Here’s a simple step-by-step guide on how to use lemons to clean your kitchen faucet head.
What You’ll Need:
- 1 or 2 fresh lemons
- An old toothbrush
- Microfiber cloth
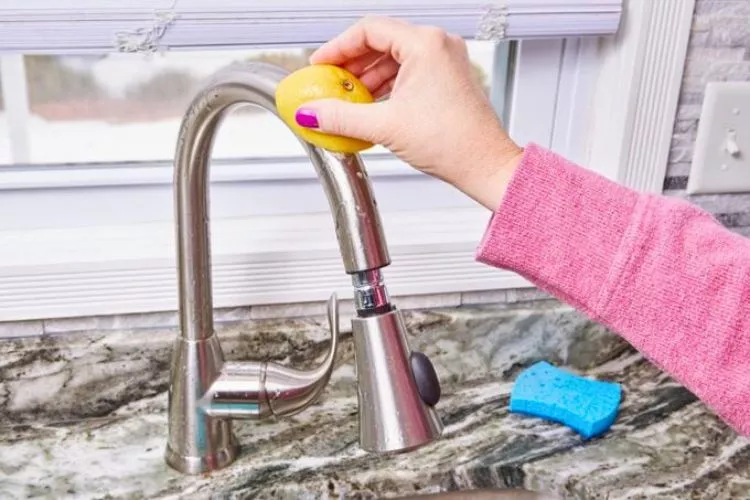
Step by Step Guide:
- Preparing the Lemons: Cut a fresh lemon into two halves. If the faucet head is soiled, you might need more than one lemon.
- Applying the Lemon: Take one half of the lemon and rub it all over the faucet head. Ensure the juice covers the entire surface, including the spout and the aerator. The citric acid in the lemon juice will work its magic against the grime.
- Let it Sit: Let the lemon juice sit on the faucet head for 5-10 minutes. This allows the acid time to break down the grime, dirt, and mineral deposits.
- Scrubbing Time: Using an old toothbrush, gently scrub the faucet head, focusing on areas with visible grime or mineral deposits. The bristles should be able to get into any small crevices.
- Rinsing and Drying: Rinse the faucet head thoroughly with warm water to wash off the lemon juice and loosened grime. Don’t forget to rinse around and inside the aerator. Then, use a microfiber cloth to dry the faucet. This ensures a nice shine and prevents water spots.
How to Clean Your Kitchen Faucet Head with Dish Soap?
Here’s a detailed, step-by-step guide on how to clean your kitchen faucet head using some common household essentials: dish soap and warm water.
What You’ll Need:
- Dish soap
- Warm water
- A sponge or old toothbrush
- Microfiber cloth
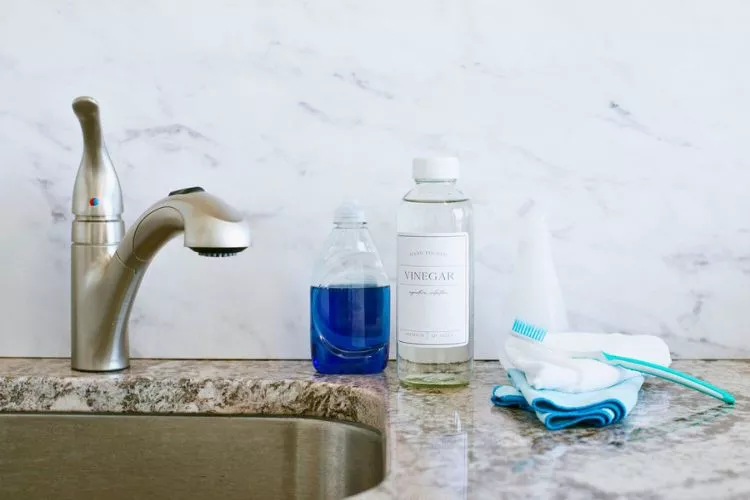
Step by Step Guide:
- Creating the Dish Soap Solution: Start by creating your cleaning solution. Mix a few drops of dish soap with warm water in a small bowl or container.
- Applying the Solution: Add your sponge or toothbrush to the soapy solution to the faucet head. Be sure to scrub all around, giving extra attention to areas with noticeable mineral deposits or grime.
- Soaking: Allow the dish soap solution to soak onto the faucet head for 10-15 minutes. This will help the soap in breaking up stubborn grime and deposits.
- Scrubbing Time: After the soak, it’s time to get scrubbing! Return with your sponge or toothbrush and thoroughly scrub the faucet head. If you encounter any persistent areas, apply more soapy water and give them a good scrub.
- Rinsing and Drying: Once you’ve scrubbed every inch of your faucet head, it’s time to rinse. Use warm water to rinse off all the soapy water thoroughly. Ensure no soap suds are left behind, as they can leave spots on your faucet. Once the faucet head is rinsed, take a microfiber cloth, and pat it dry. This will prevent water spots from forming and give your faucet head a bright, clean shine!
Consider repeating this process regularly to maintain a clean and shiny kitchen faucet head.
How to Clean Your Kitchen Faucet Head with Coca Cola?
Who would have thought your favorite beverage could be a useful cleaning agent?
The mild acidity in Coca Cola makes it surprisingly effective in dealing with grime, dirt, and mineral deposits on your kitchen faucet head. Follow this detailed guide to learn the process.
What You’ll Need:
- 1 can of Coca Cola
- An old toothbrush
- A bowl or glass
- Microfiber cloth
Step by Step Guide:
- Preparing the Coca Cola: Pour a can of Coca Cola into a bowl or glass deep enough to submerge the faucet head.
- Soaking the Faucet Head: Detaching the faucet head might not always be possible or necessary, but if it is, remove it and place it in the bowl of Coca Cola. If this isn’t an option, simply pour the cola over the faucet head, letting it soak as well as possible.
- Allow the Coca Cola to Soak: Let the faucet head sit in the cola for at least 20-30 minutes. The longer it soaks, the better the cola can break down the grime and deposits.
- Scrubbing Off the Grime: After soaking, take an old toothbrush and gently scrub the faucet head. The bristles can easily remove any loosened grime and get into small areas that might have been missed.
- Rinsing and Drying: Once you’re done scrubbing, rinse the faucet head thoroughly with warm water to ensure all the cola and removed grime is gone. After rinsing, use a microfiber cloth to pat the faucet head dry. This will help prevent water spots and give your faucet head a nice shine.
How To Clean Your Kitchen Faucet Head With Hydrogen Peroxide?
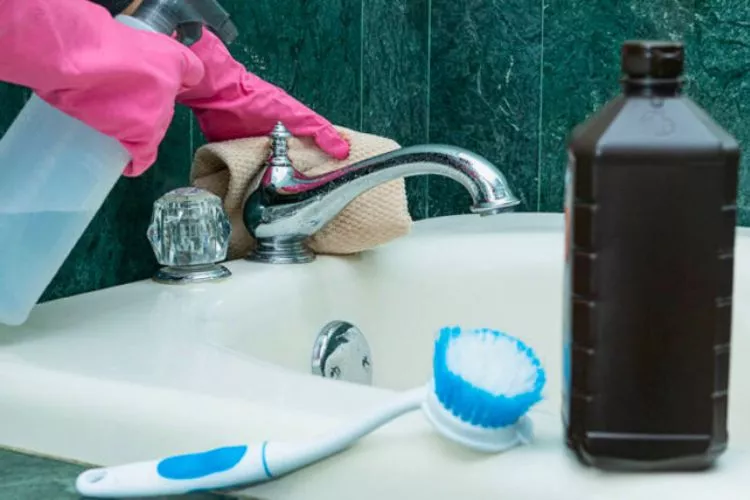
Hydrogen peroxide, commonly found in most households, offers a quick and easy solution to a grimy kitchen faucet head. It is a non-corrosive, non-toxic, and biodegradable substance, making it safer for you and the environment.
What You’ll Need:
- Hydrogen Peroxide (3% solution)
- An old toothbrush
- A bowl or cup
- Safety goggles and gloves
- Soft cloth
Step by Step Guide:
- Safety First: First, put on your safety goggles and gloves. Hydrogen peroxide can irritate if it comes in contact with your eyes or skin. It’s always better to be safe!
- Preparing the Hydrogen Peroxide: Pour some hydrogen peroxide (3% solution, which is standard for household use) into a bowl or cup.
- Applying the Hydrogen Peroxide: Dip your old toothbrush into the hydrogen peroxide solution and scrub the faucet head thoroughly. Make sure the bristles get into the crevices to remove any hidden grime.
- Let it Sit: After scrubbing, let the hydrogen peroxide sit on the faucet for 10-15 minutes. This allows the solution to break down any tough grime or deposits.
- Scrubbing Once More: After allowing the hydrogen peroxide to sit, give the faucet head another good scrub with your toothbrush. Gently scrub off any remaining deposits.
- Rinsing and Drying: Rinse the faucet head thoroughly with warm water. Make sure to remove all the hydrogen peroxide to avoid any leftovers. Dry off the faucet head with a soft cloth once the faucet head is rinsed well. This will leave your faucet head sparkling clean and free from pesky water spots!
Frequently Asked Questions (FAQs)
What is a home remedy for cleaning faucet head?
A simple home remedy for cleaning a faucet head involves soaking it in vinegar. Remove the faucet head and submerge it in a bowl filled with white vinegar for 15-30 minutes. Afterward, gently scrub it with an old toothbrush and rinse. The vinegar will help dissolve the mineral build-up.
Can you use baking soda to clean the faucet head?
Yes, baking soda works wonderfully in cleaning the faucet head. Apply a paste with baking soda and water to the faucet head, leave it for approximately 15 minutes, then gently scrub with a toothbrush. Rinse it off with water afterward. It effectively removes grime and mineral deposits.
Can you use hydrogen peroxide on faucets?
Sure, you can use hydrogen peroxide to clean your faucets. It’s a non-toxic and effective cleaner that removes the build-up, grime and kills germs. Simply scrub your faucet with a soft toothbrush dipped in hydrogen peroxide, leave it on for a few minutes, then rinse.
Will vinegar damage the finish on a faucet?
Yes and no. Vinegar, a mild acid, can harm certain finishes on your faucets if left on for extended periods. However, it’s typically safe for chrome and stainless steel finishes. Other types of finishes, like oil-rubbed bronze, should be avoided. Always check with the manufacturer’s cleaning instructions beforehand.
Can you use Windex to clean faucets?
Yes, Windex or similar glass cleaners can clean and shine faucet surfaces. It is particularly good at removing water spots. Spray the cleaner on the faucet, then wipe it with a clean, soft cloth. However, as with any cleaning product, it’s a good idea to do a spot test first to ensure it doesn’t harm the finish.
Conclusion:
In summary, cleaning a kitchen faucet head without vinegar is possible and easy, thanks to numerous alternative options.
Utilizing effective cleaning agents such as hydrogen peroxide, baking soda, or even commercial glass cleaners like Windex helps maintain a sparkling clean and well-functioning kitchen faucet without the need for vinegar.
By exploring and using these various cleaning methods, homeowners can keep their faucet heads free from grime, mineral build-ups, and bacteria, ensuring a hygienic and visually appealing kitchen space.
So, experiment with these vinegar-free solutions for a cleaner, shinier faucet head and a healthier kitchen environment.


