Have you ever dreaded cleaning your freezer floor due to stubborn ice build-up and food spills? Say goodbye to your cleaning woes!
This article is devoted to guiding you on how to clean a freezer floor effectively.
We delve into easy, step-by-step procedures, from defrosting to scrubbing, ensuring a spic-and-span freezer floor.
The emphasis is on using safe, household products, turning the daunting task into a breeze.

Let’s enhance the longevity and efficiency of your freezer by maintaining adequate cleanliness, while promoting a healthier space for food storage.
How to clean a freezer floor? An Easy Guide
Cleaning a freezer floor can be a simple and hassle-free task when broken down into easy-to-follow steps. Below, we outline a detailed procedure with appropriate subheadings to help you achieve a sparkling clean freezer floor.
Preparation
- Unplug the freezer: Safety first! Disconnect the freezer’s power source to prevent accidents and ensure a secure working environment.
- Empty the contents: Remove all frozen items and place them in a cooler or insulated bag to maintain their temperature.
Defrosting

- Open the freezer door: Keep the door open to allow warm air circulation, promoting faster defrosting.
- Place towels or a shallow container: Position towels or a container at the bottom of the freezer to collect excess water and ice during the defrosting process.
- Speed up the process (Optional): To help expedite defrosting, fill a bowl with hot water and place it inside the freezer. Be sure to change the water as it cools.
Cleaning
- Remove loose ice: Once the ice has softened, use a plastic spatula or a wooden spoon to carefully remove large chunks of ice. Avoid sharp objects or excessive force to prevent damage to the freezer floor.
- Prepare a cleaning solution: In a bucket, mix warm water and a mild dishwashing detergent. Optionally, add a cup-to-cup ratio of white vinegar to enhance cleaning and disinfection.
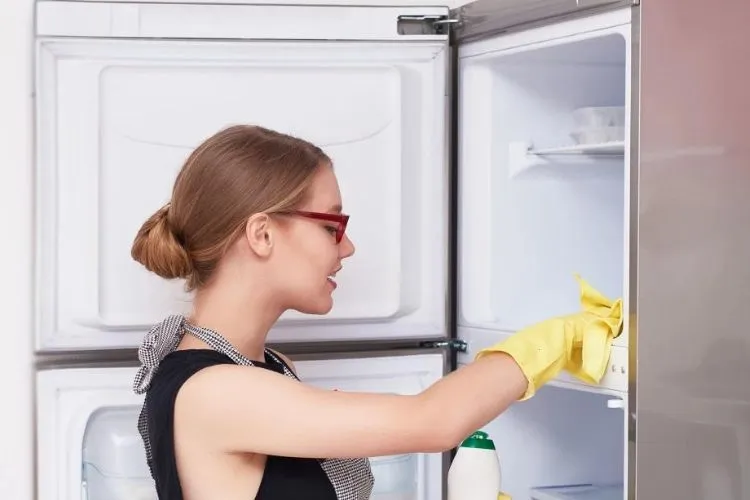
- Wipe the freezer floor: Dip a sponge or soft cloth in the cleaning solution and gently scrub the freezer floor, removing any stains or food residue.
- Scrub difficult stains: Use a soft-bristle brush or an old toothbrush to scrub away stubborn stains and reach tight corners.
- Rinse: Wipe down the cleaned area with a sponge or cloth dampened in fresh water, ensuring no soap residue is left behind.
Drying and Maintenance
- Dry the freezer: Use a clean, dry towel to thoroughly dry the freezer floor, preventing mildew and mold formation.
- Reconnect the power source: Plug the freezer back in, adjusting the temperature to the appropriate setting.
- Replace the contents: Once the freezer has reached its desired temperature, return the previously stored items.
- Regular upkeep: Repeat this cleaning process periodically, ensuring optimal freezer performance and extending its lifespan.
Investing the time to clean your freezer floor will guarantee a fresh environment for food storage and a smoother overall experience.
how to clean a walk-in freezer floor without turning it off?
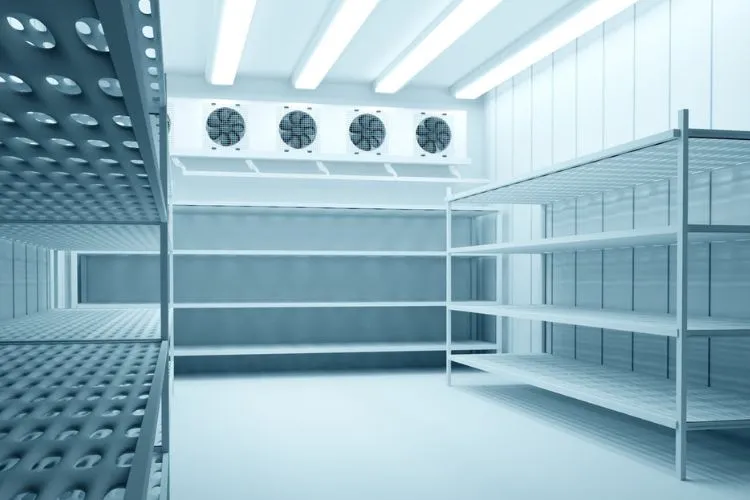
If shutting down your walk-in freezer is not an option due to the volume and type of items stored, you can still clean the floor without turning it off.
Here’s how to do it, step by step.

Preparation
- Move the contents: Begin by shifting the freezer’s contents to one side or corner of the walk-in freezer. This will allow you to clean one section of the floor at a time while minimizing the exposure of the stored items to higher temperatures.
- Sweep the area to be cleaned: Use a broom to sweep away any loose debris from the floor.
Cleaning
Maintaining the hygiene of your walk-in freezer floor without shutting it down requires a few specific tools and careful use of cleaning agents designed to work in cold environments. Here’s a detailed process:

Selecting the Right Cleaning Solution
Not all cleaning agents are effective in cold temperatures. You will need to:
- Choose the appropriate cleaner: Look for a commercial-grade freezer floor cleaner that’s designed to work at low temperatures. These are formulated to remain effective even when the temperature is well below freezing.
- Read product instructions: Before preparing the solution, carefully read the manufacturer’s guidelines to understand the correct proportions for dilution. These cleaners usually concentrate, so they need to be mixed with water in the right ratio.
- Prepare the solution: In a bucket or a spray bottle, mix the cleaner with water as instructed. It’s best to use water that’s slightly warmer than the freezer temperature to improve the cleaner’s effectiveness but not enough to cause a drastic temperature alteration in the freezer.
Applying the Cleaning Solution:
- Segment the cleaning: To minimize the exposed area, apply the solution to a small, manageable section of the freezer floor that you’ve cleared.
- Cover all areas: Ensure that the solution covers all the stains, spills, and dirt. If working with a bucket, pour the cleaning mixture directly onto the floor, making sure to get even coverage. If using a spray bottle, spray generously over the dirty areas.
- Allow dwell time: For areas that are heavily soiled with grime or sticky substances, let the cleaning solution sit for a few minutes—typically no longer than 5 to 10 minutes. It’s crucial to monitor any cleaner’s dwell time in a freezer, as longer periods might lower the temperature of the floor’s surface and cause structural damage or icing.
Scrubbing the Floor:
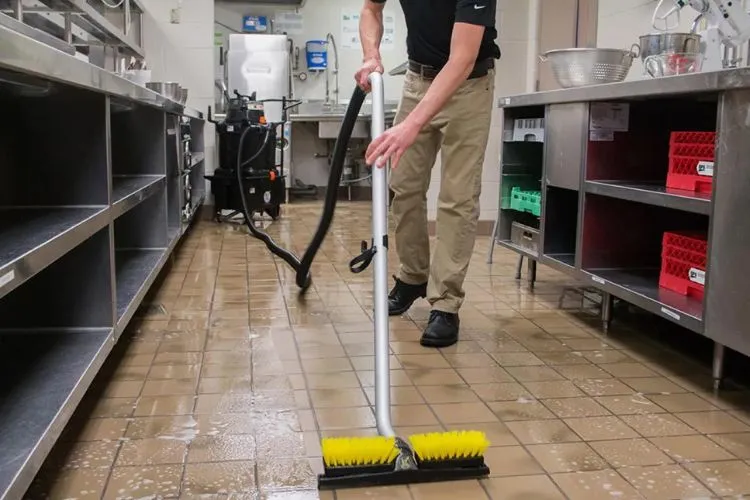
- Choose an appropriate brush: Select a long-handled brush with bristles that are firm yet safe for the freezer floor material. This is important to avoid scratches or damage that can happen with overly abrasive tools.
- Scrubbing technique: Start scrubbing in small circular motions to lift grime effectively, then move in straight lines to cover the entire section methodically.
- Pay attention to detail: Give extra attention to the nooks and crannies where dirt tends to accumulate. Use smaller brushes if necessary to reach these areas without causing harm to safety seals or the floor itself.
- Physical effort: Some elbow grease may be required to remove the most stubborn stains, but consistent motion and pressure will often yield the best results without damaging the freezer’s floor.
By strictly following these enhanced steps, you ensure not only a clean but also a well-maintained freezer floor that is less likely to become overly slippery or harbor bacterial growth, thus guaranteeing a safe environment for food storage.
Conclusion:
Keeping a freezer floor clean is essential for hygiene and safety. Regular cleaning with appropriate solutions suited for cold temperatures will prevent build-up, reduce slip hazards, and extend the lifespan of your freezer.
Always ensure to use non-abrasive tools and follow the manufacturer’s instructions for both the freezer and cleaning agents.
With a systematic approach, the task can be accomplished effectively without the need to turn off the freezer, ensuring your operations continue smoothly, and your freezer remains in pristine condition.


